DIY Upholstered Headboard For Our Master Bedroom – Step-By-Step Tutorial
… …
…
I always wanted a huge upholstered headboard and our master bedroom to feel like a luxurious hotel room (which is weird btw because I don’t like to sleep somewhere else lol).
I couldn’t find the perfect headboard. So I built one. Today I show you a step-by-step tutorial.
It’s super easy to make!
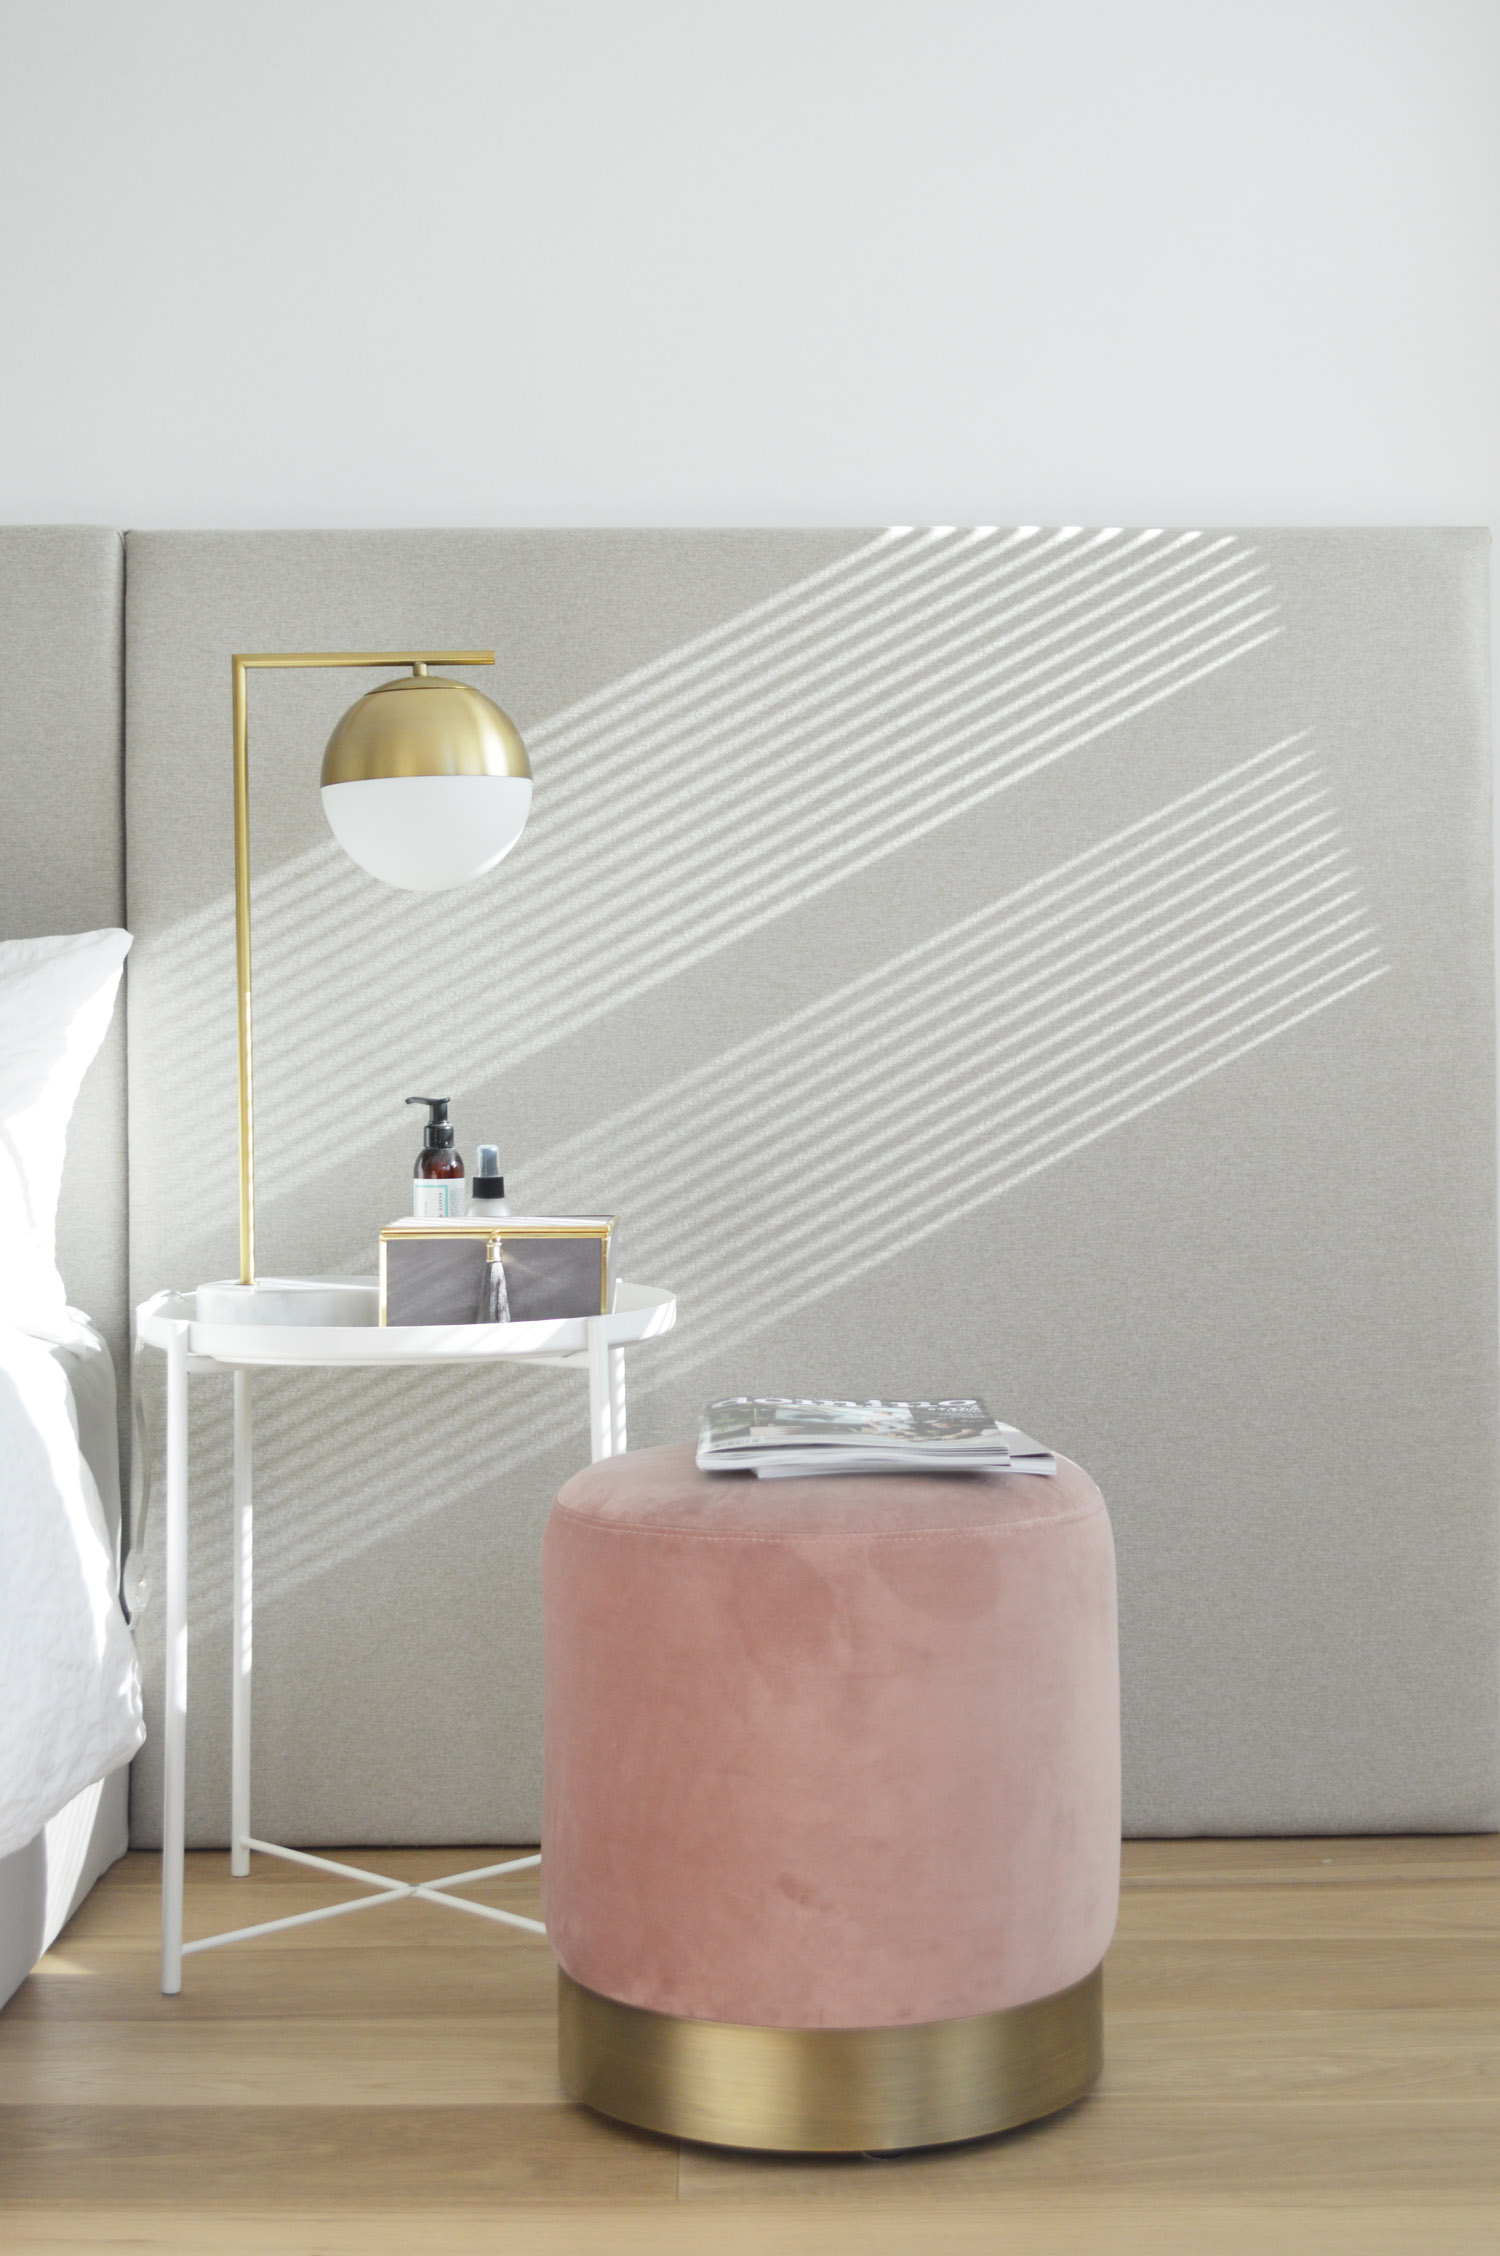
The headboard not only adds more texture but improves the acoustics as the bedroom is huge. I’ve found a fabric from Maxwell Fabrics that is so heavenly smooth and soft and has like a herringbone pattern which you can only see if you take a closer look.
I envisioned a calming, quiet and serene master so I picked a fabric colour that matches the bed frame and our linen.
To incorporate the architecture of the room itself I decided to build a three-piece headboard with the same length as the wall where the bed stands. That gives it an even more custom look and holds everything together.
I didn’t take photos of each step while making this headboard. But I made an upholstered bench for our breakfast nook with exactly the same fabric, supplies and tools and took way more photos of building the bench. So I added some photos of this process to the headboard tutorial. Please don’t mind the bad step-by-step photos. Sometimes I’m just not in the mood to create the perfect light and scenery for perfect photos while renovating or making DIY projects lol.
SUPPLIES AND TOOLS YOU NEED FOR THE UPHOLSTERED HEADBOARD:
 …
…
…
 .
.
……
…
HERE IS A LIST OF SUPPLIES YOU NEED:
+ Upholstery fabric
+ Foam (1″ / 2,5 cm thick)
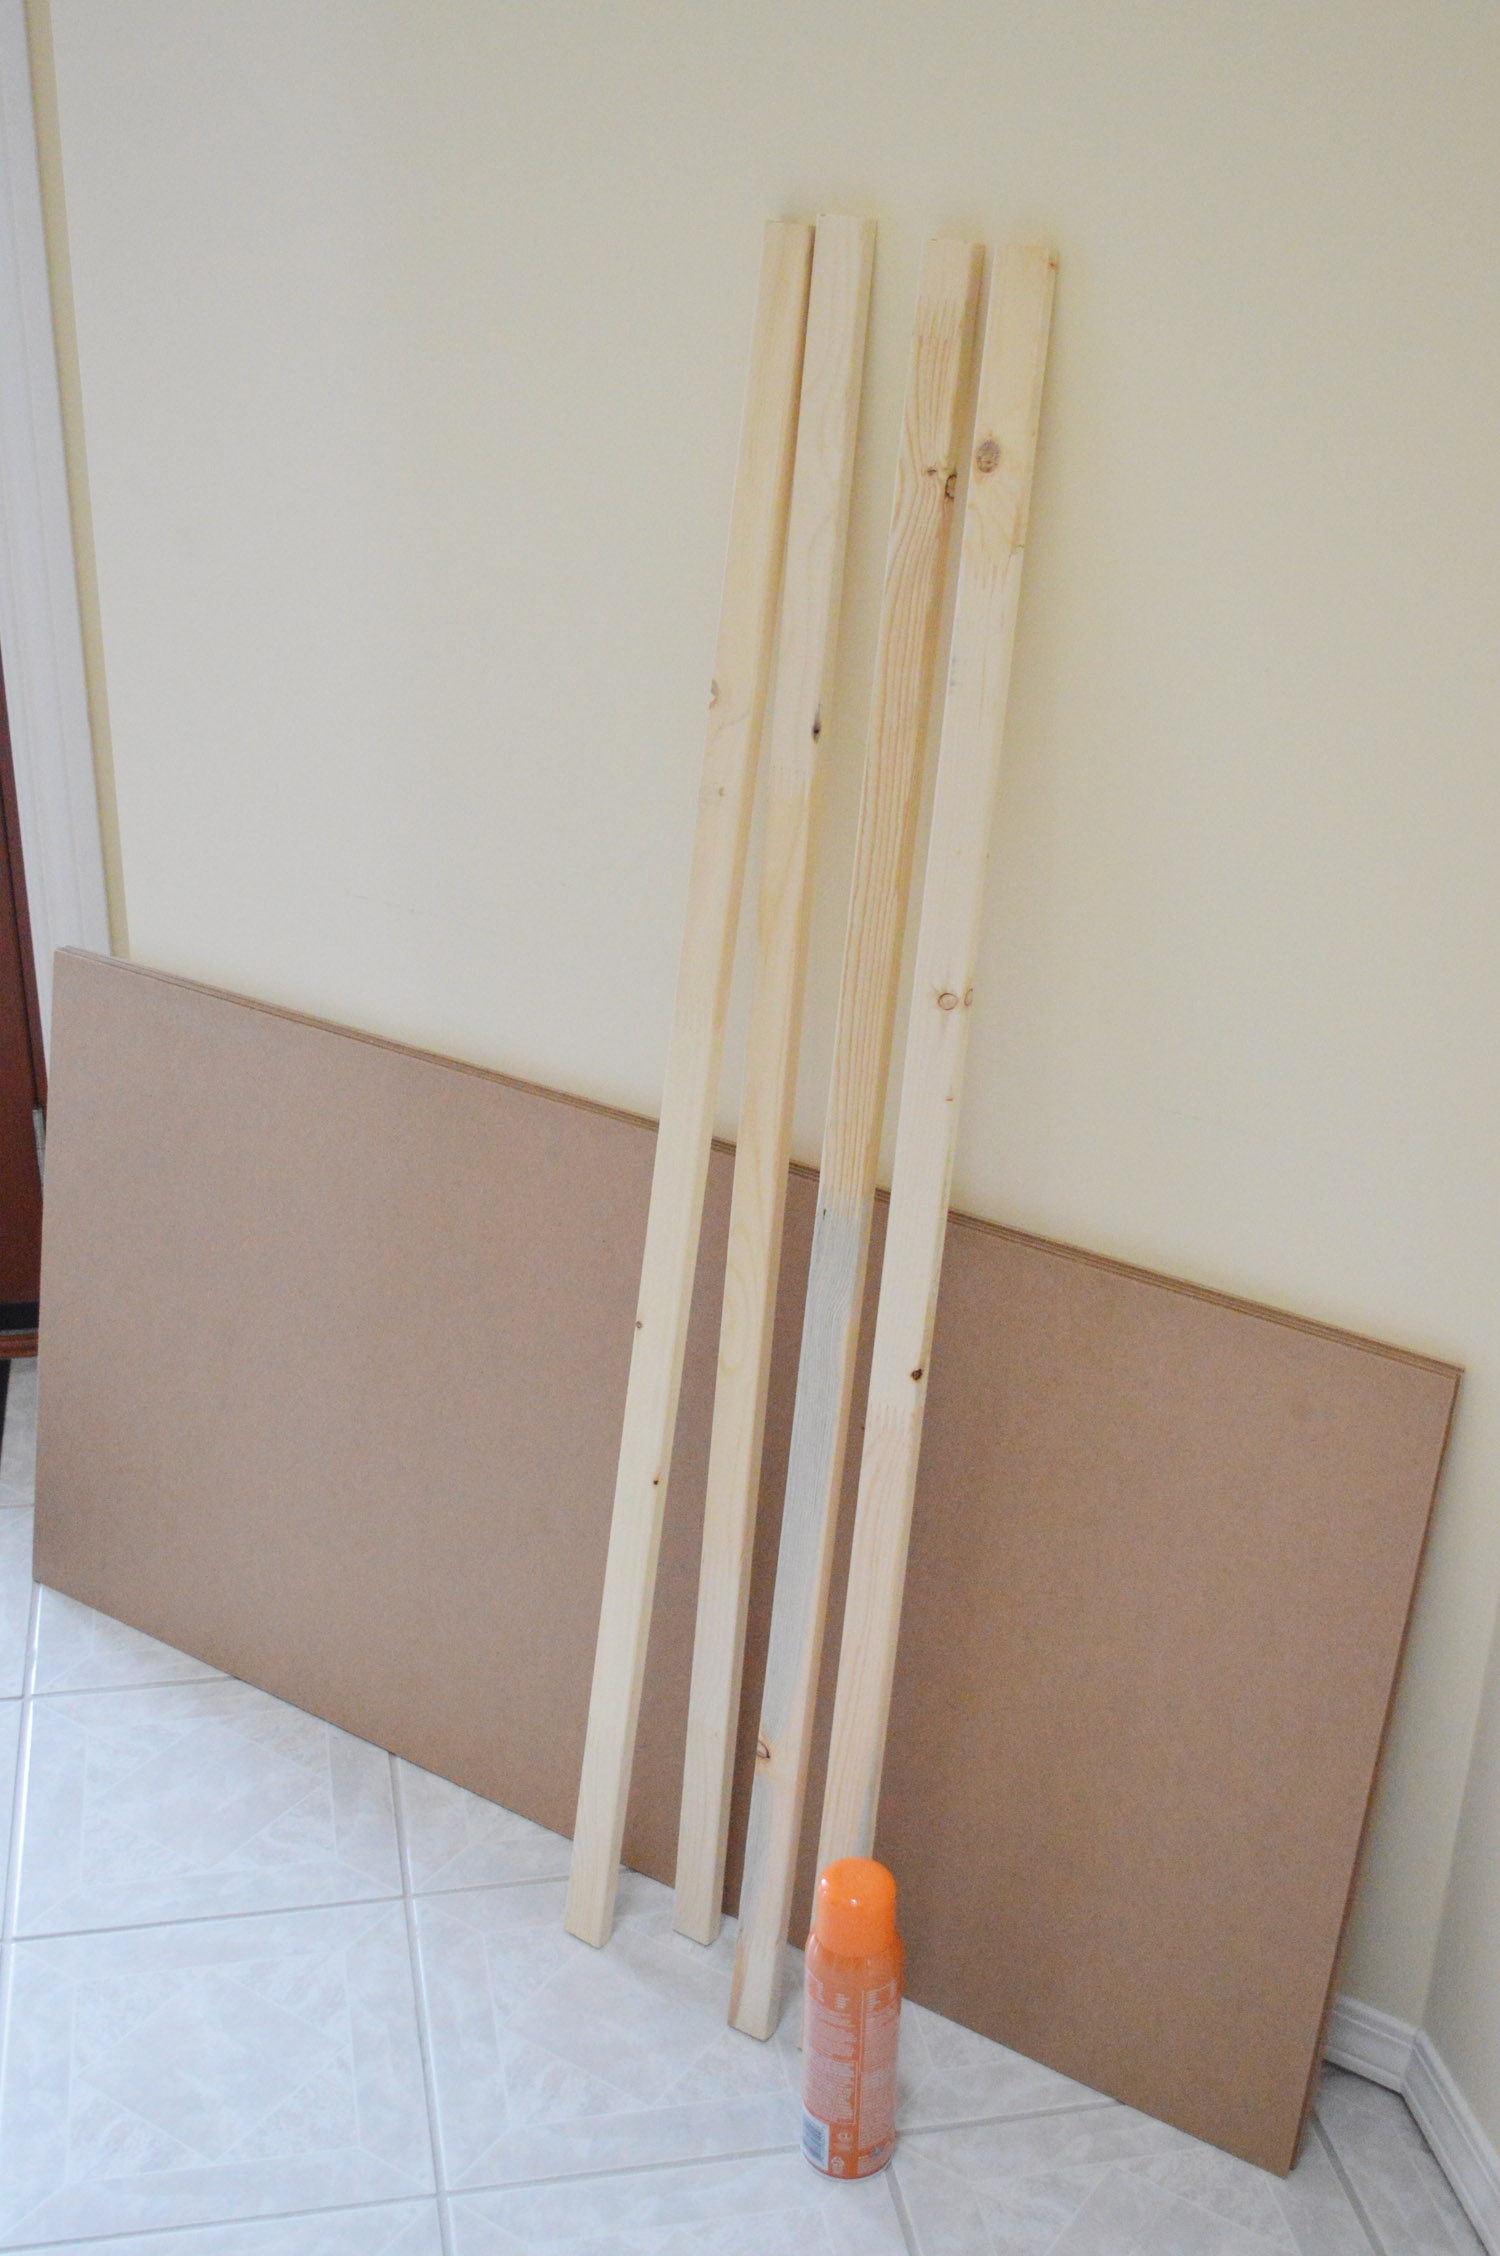
+ Sheets of wood
+ 2 x1 lumber
+ Spray adhesive
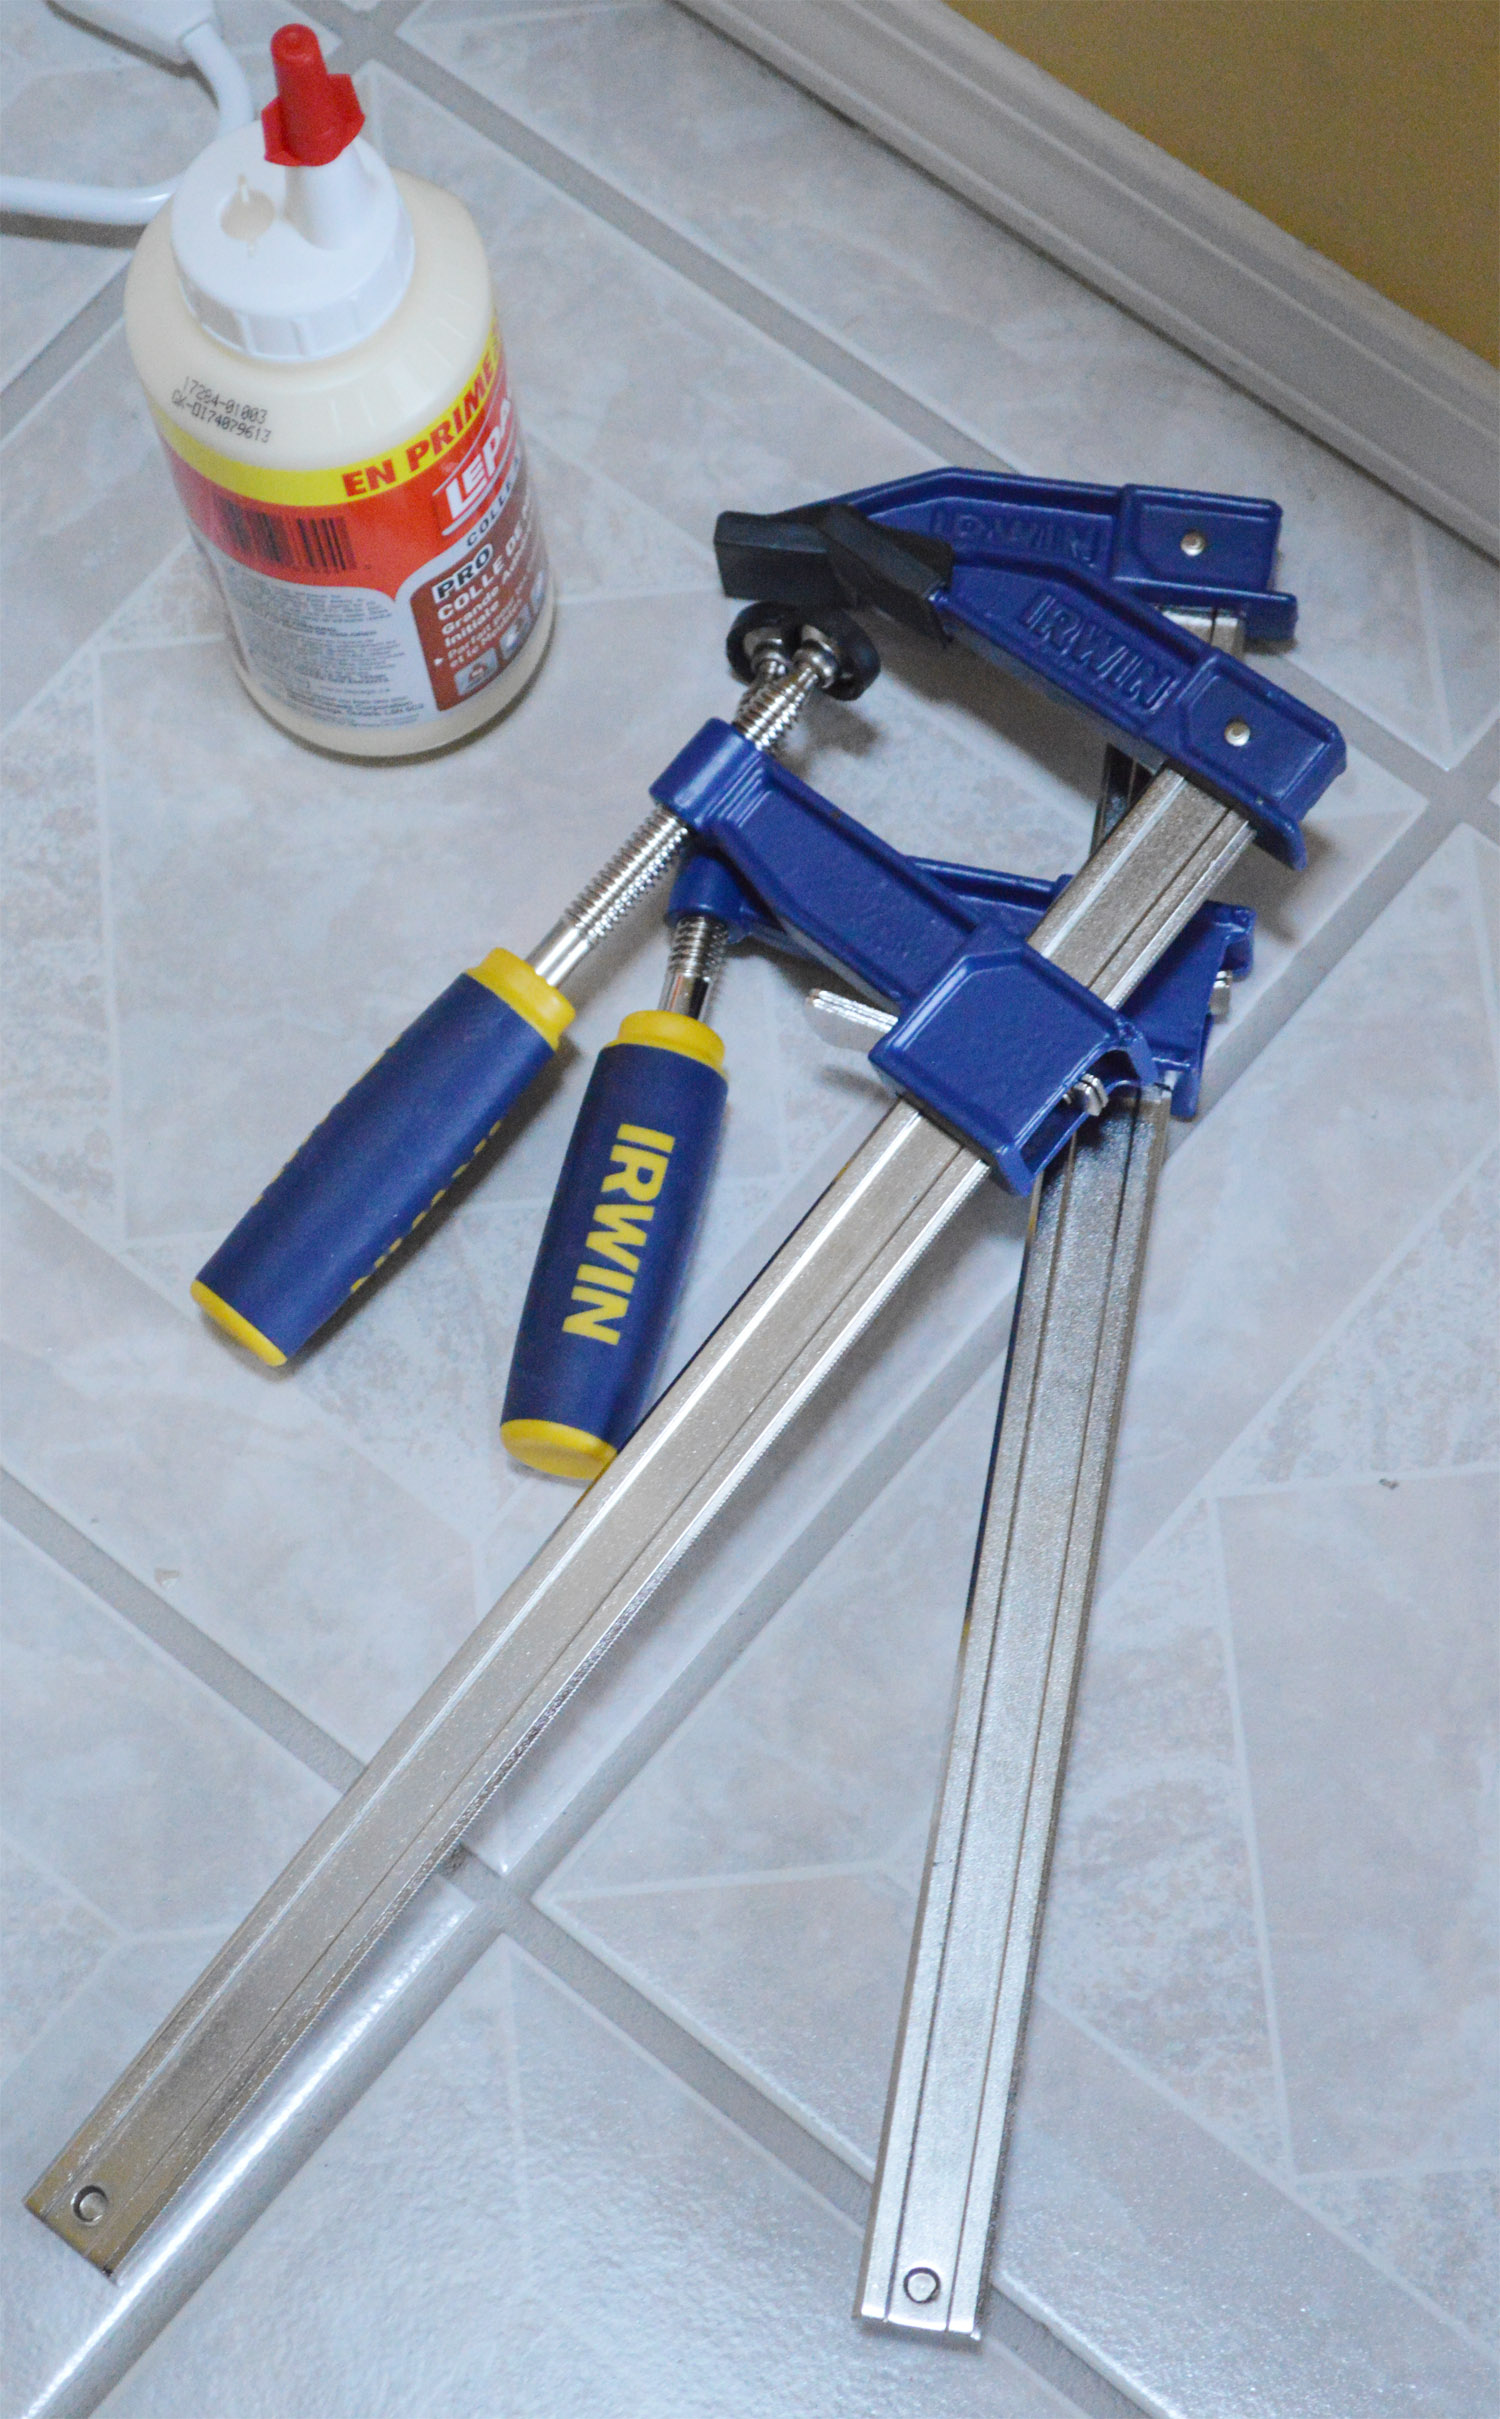
+ Wood glue
+ Screws
+ Picture/Mirror Hangers or simply use wood connector plates (same effect but way cheaper!)
+ Please note: It is usually recommended to use batting to add extra comfort and some roundness to the look. Since my fabric is pretty thick and I used a high quality foam I saved the costs for the batting. I would probably use it for chairs or a bench.
…
HERE IS A LIST OF TOOLS YOU NEED:
+ Measuring tape
+ Staple gun
+ Scissors
+ Bar clamps
+ Black pen
+ Drill
..
STEP-BY-STEP TUTORIAL:
STEP 1:
Measure out the lengths you need. It depends on the size of your bed and wall. My largest piece is the middle one and is as wide as the bed. The two side pieces are covering the area from the bed to the corners in the room and are both the same length as the bed is in the middle of the wall.
My headboard is 47″ (120cm) high. It is right enough to feel comfortable while leaning against it and still low enough to hang art above it.
.
STEP 2:
I went with a thin sheet of MDF because I had some leftovers from another projects. To give it more stability and let the headboard look thicker I glued 2×1 lumber like a frame on the sheets. This also allows me to keep and use the electrical outlets behind the headboard without spacers between the headboard and the wall.
You can also go with a thicker sheet of wood and skip the framing lumber.
Ask your local hardware store to cut everything to size for you.
.

.
STEP 3:
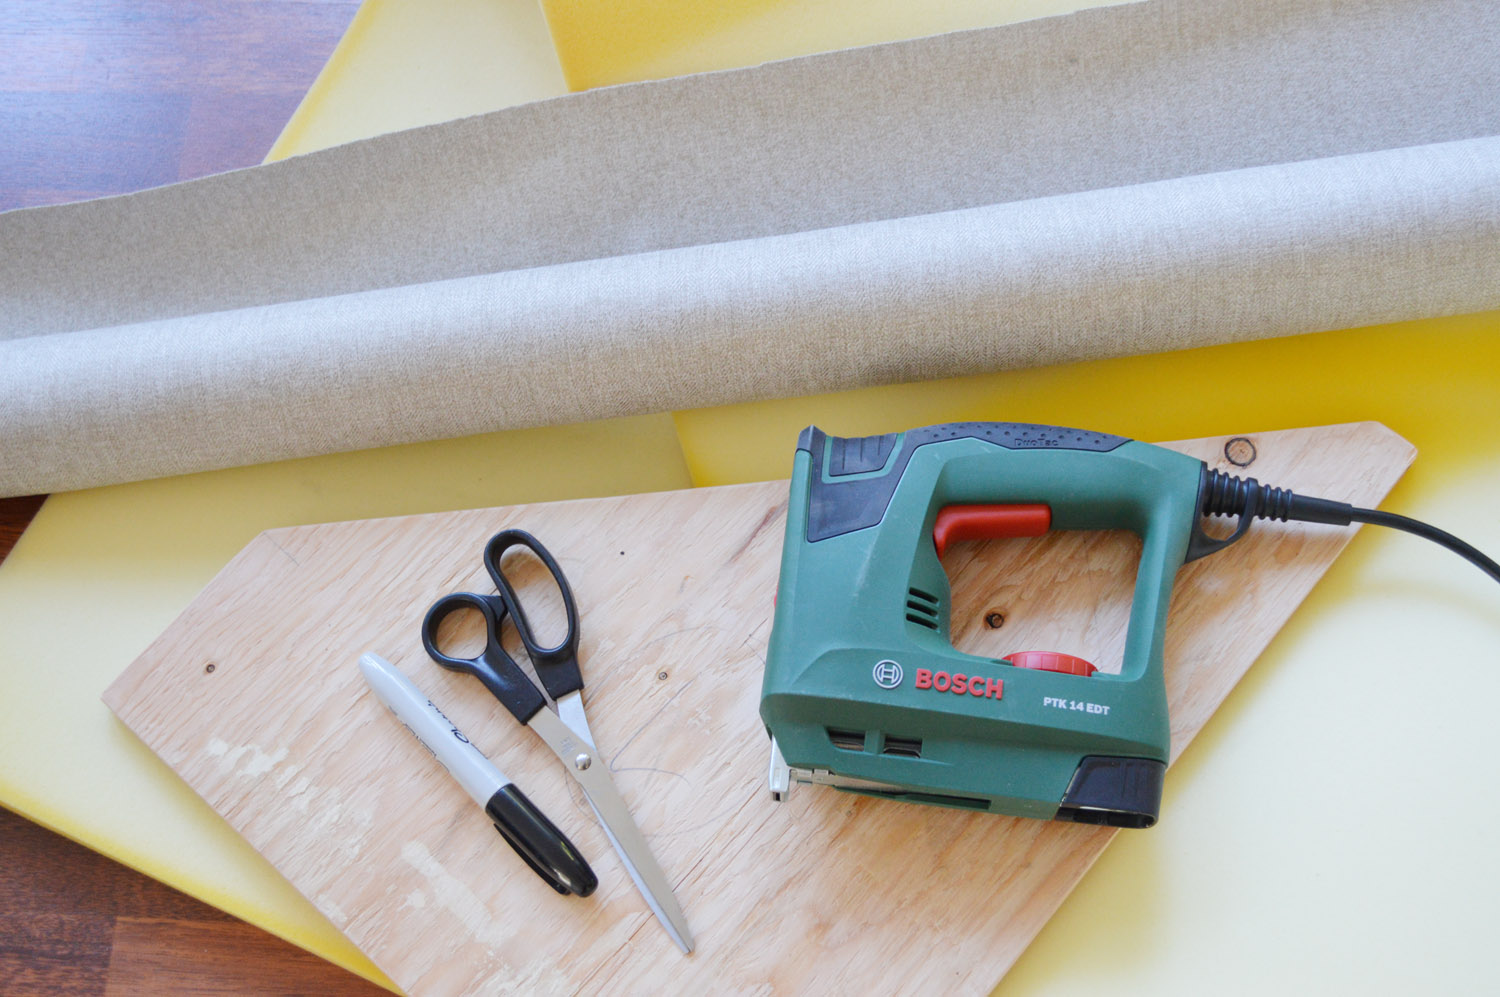
Roll out the foam and place your sheets on top of it. Use the cutted sheets as a template and trace the outlines with your black marker.
.
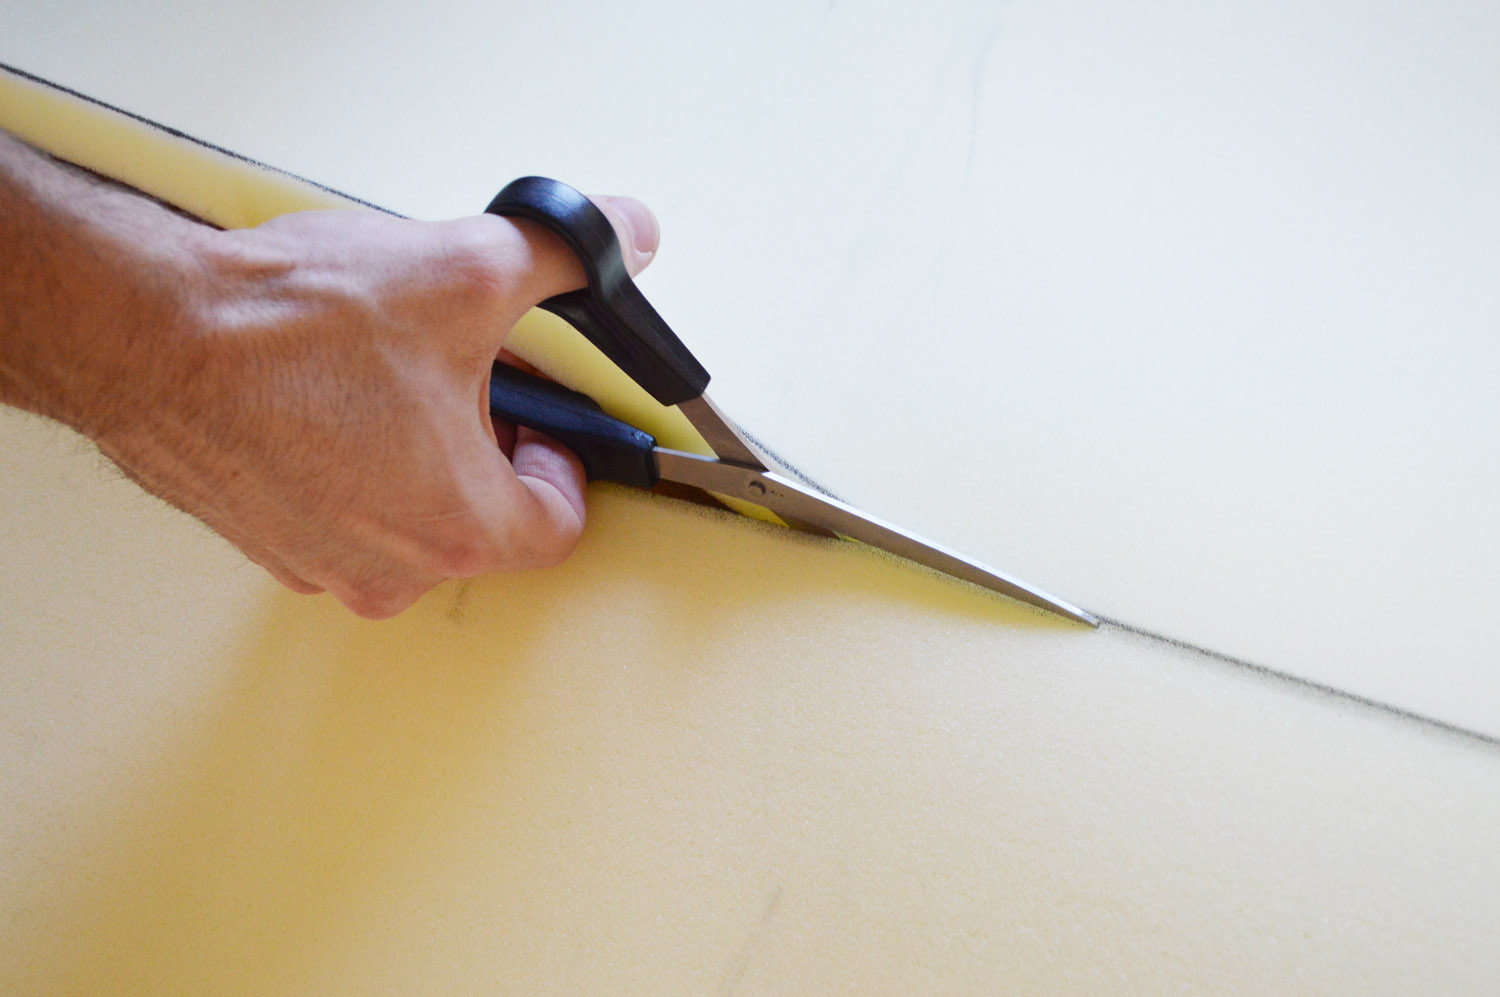
STEP 4:
Cut the foam with the scissors.
.
.
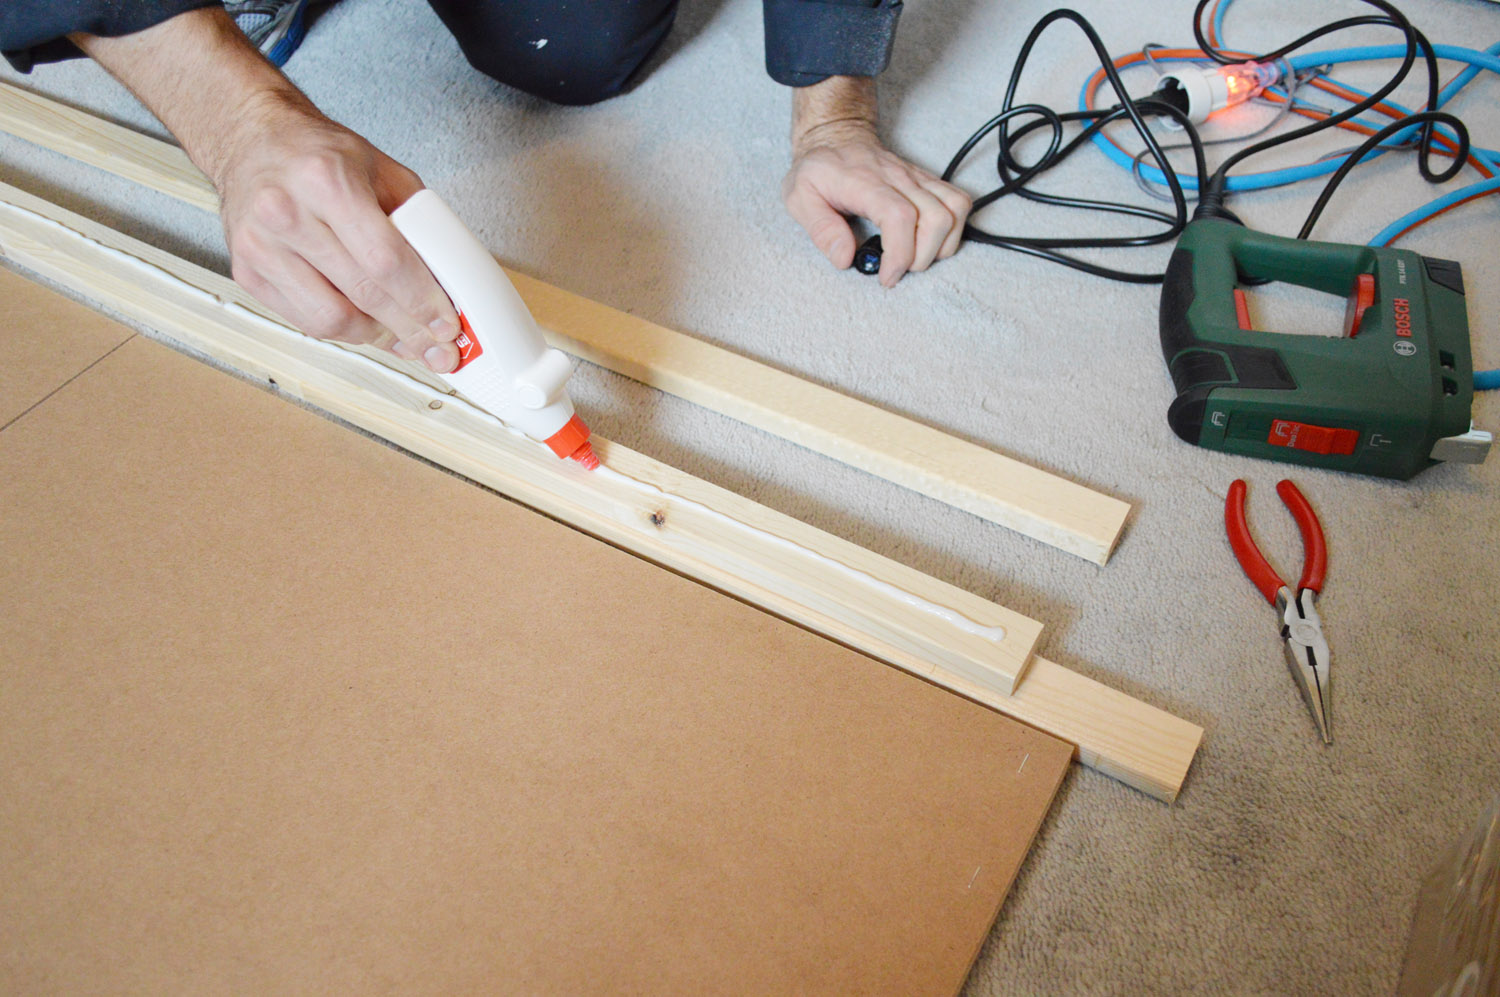
STEP 5:
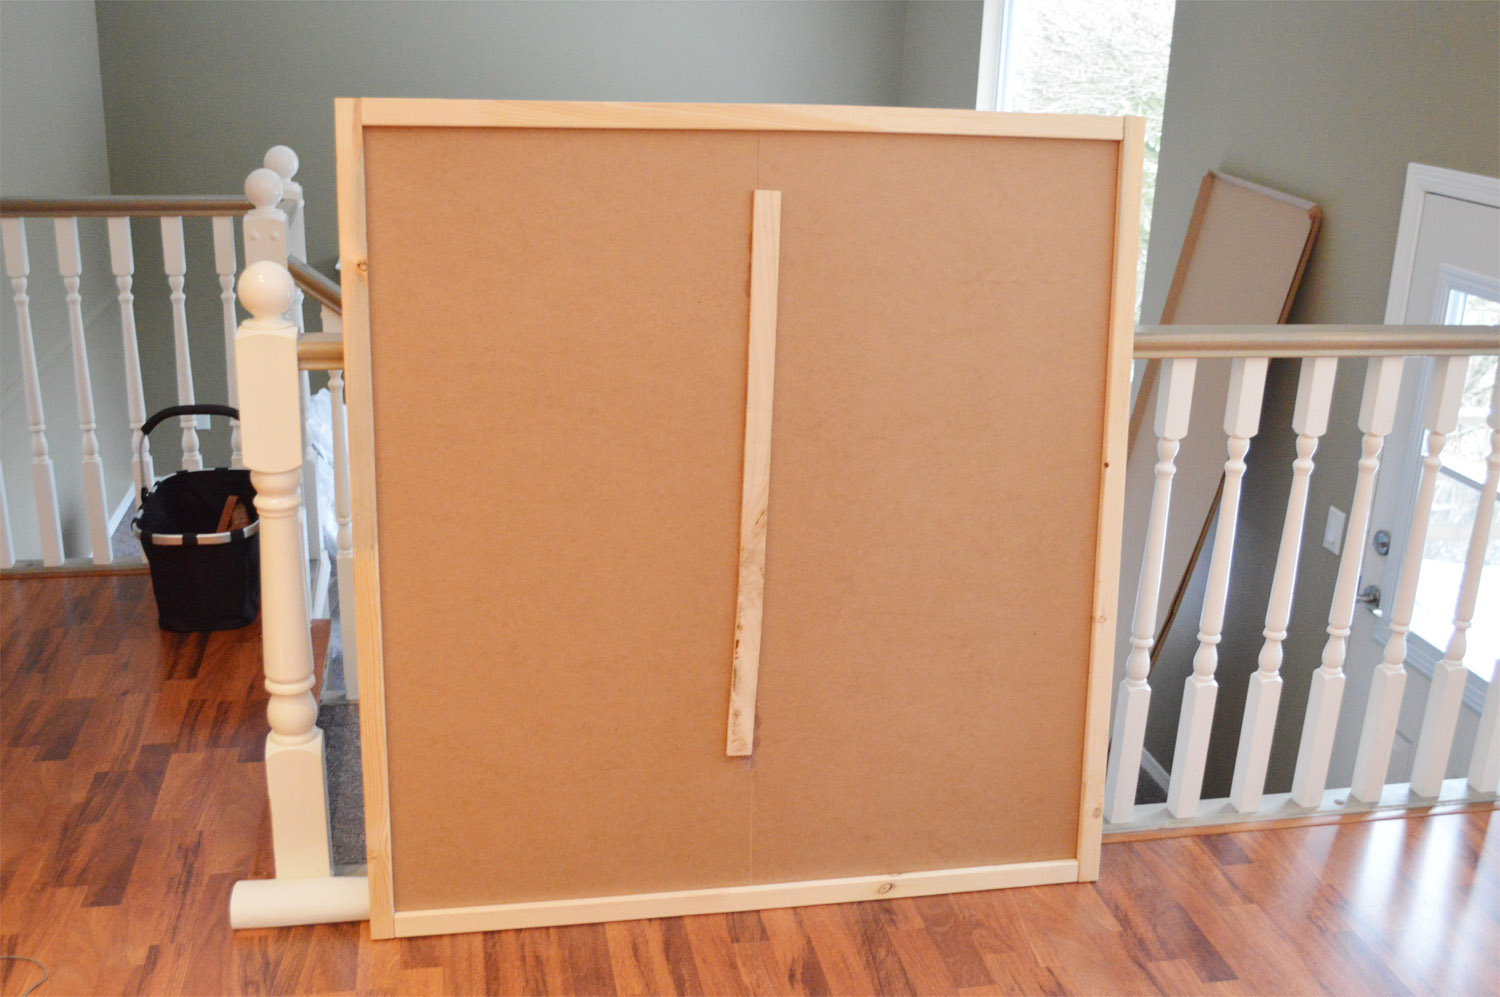
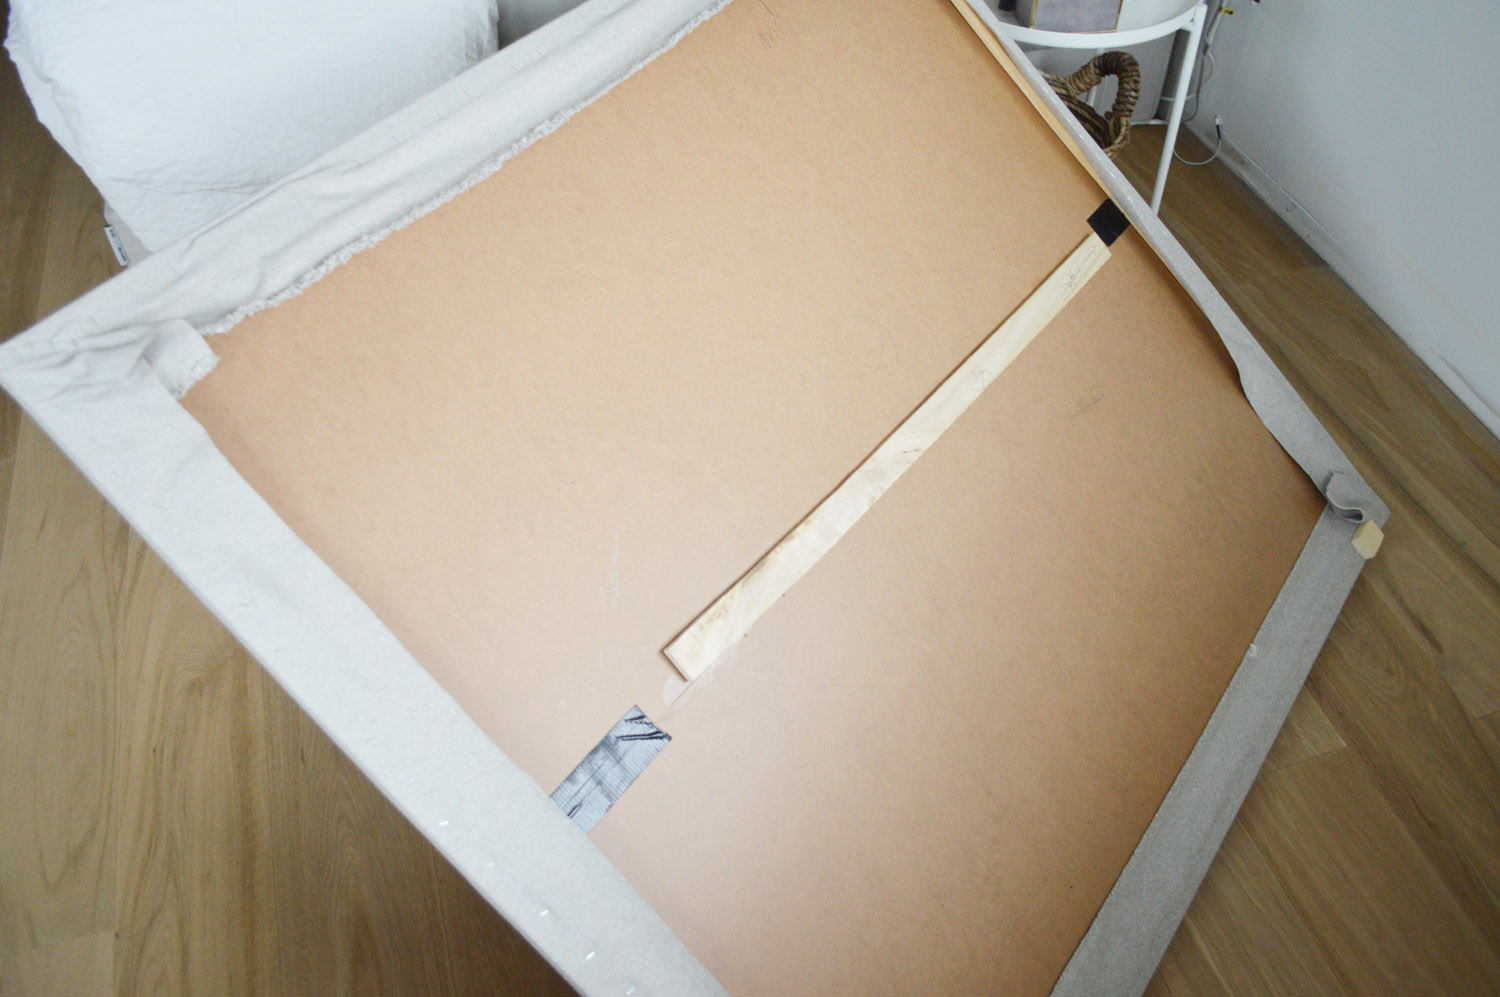
Glue the framing lumber on the sheets and use the clamps to hold the pieces together until the glue is dry.
This is how my headboard looks form the back (don’t mind the unrenovated dining room):
.
..
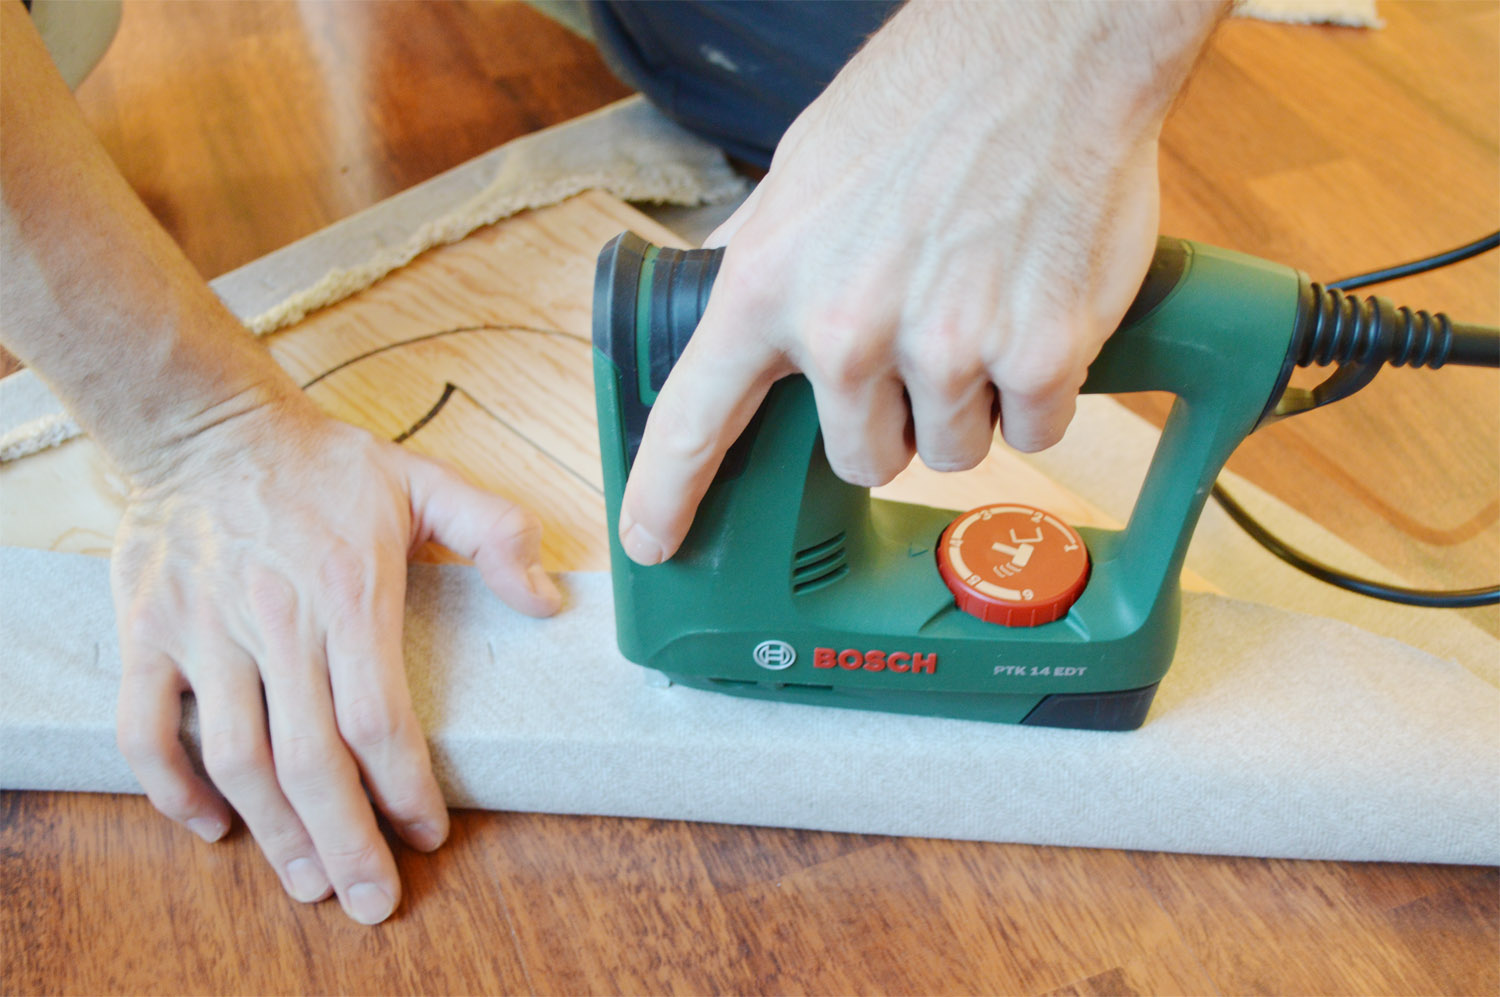
STEP 6:
To keep the foam in place, apply spray adhesive on your headboard and attach the foam to it.
.
.
STEP 7:
Lay out your fabric with the good side facing down. Put your headboard with the foam on your fabric and wrap it up around the frame so you can staple it on the back of the frame.
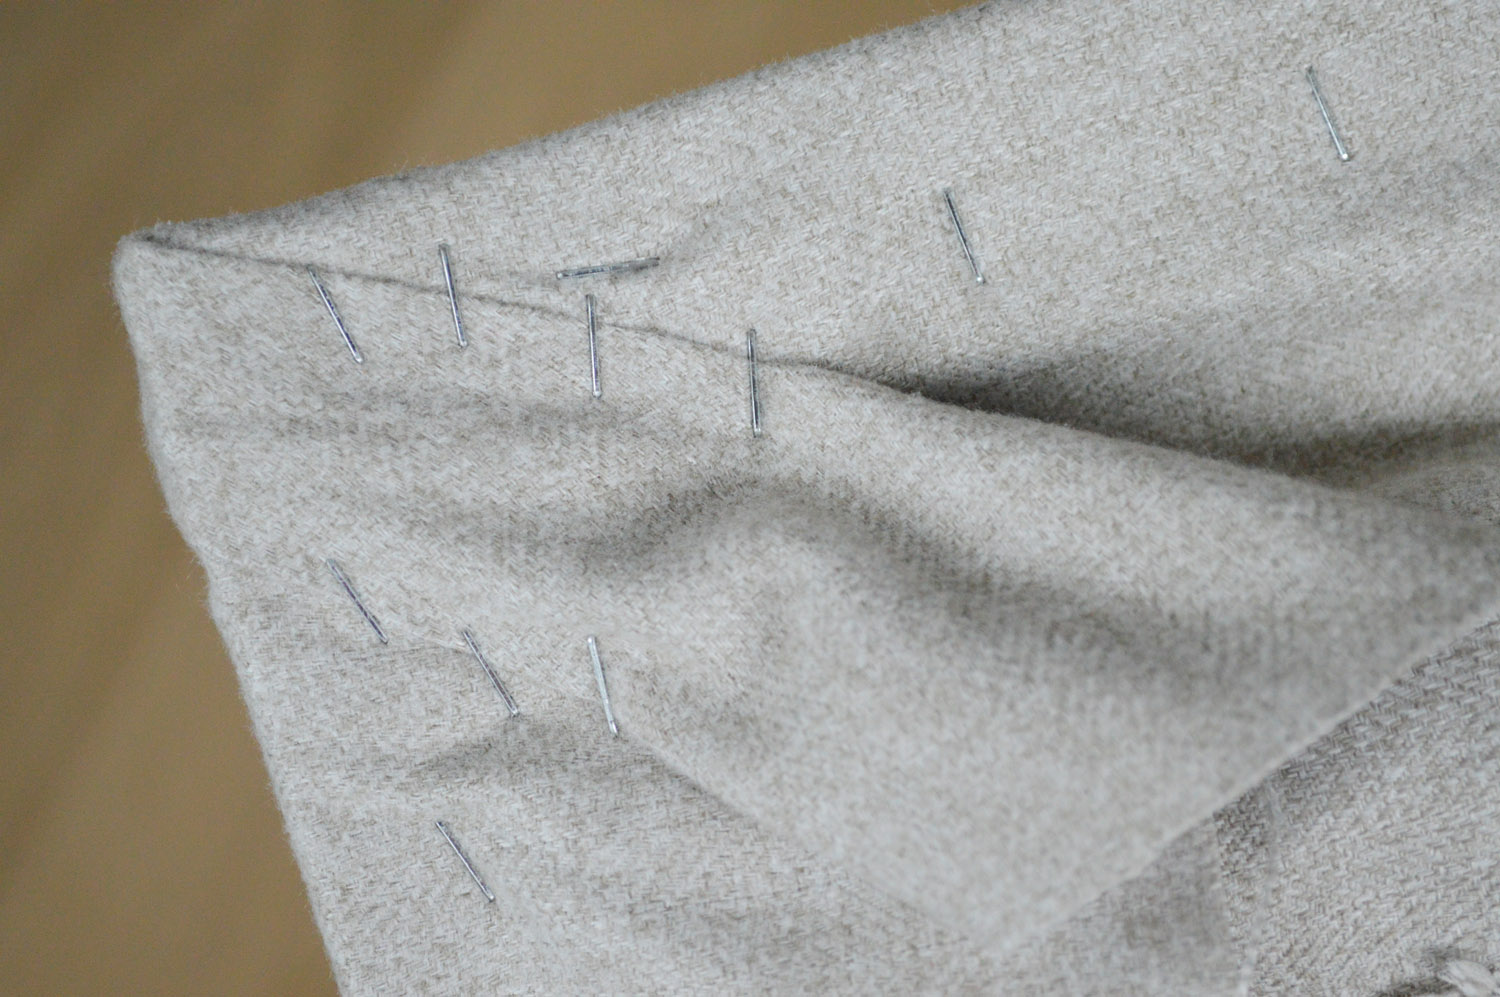
Start with one side and then do the opposite side. It is important to pull the fabric tight to avoid crinkels!
The corners can be a bit tricky. Remember that you can always pull our the staples if you don’t like it and try it again.
This is how my corners look like:
.
 .
.
The back of my headboard:
. .
.
On the photo above you can see that I didn’t install baseboards where the headboard is supposed to be. So there is no gap.
.
STEP 8:
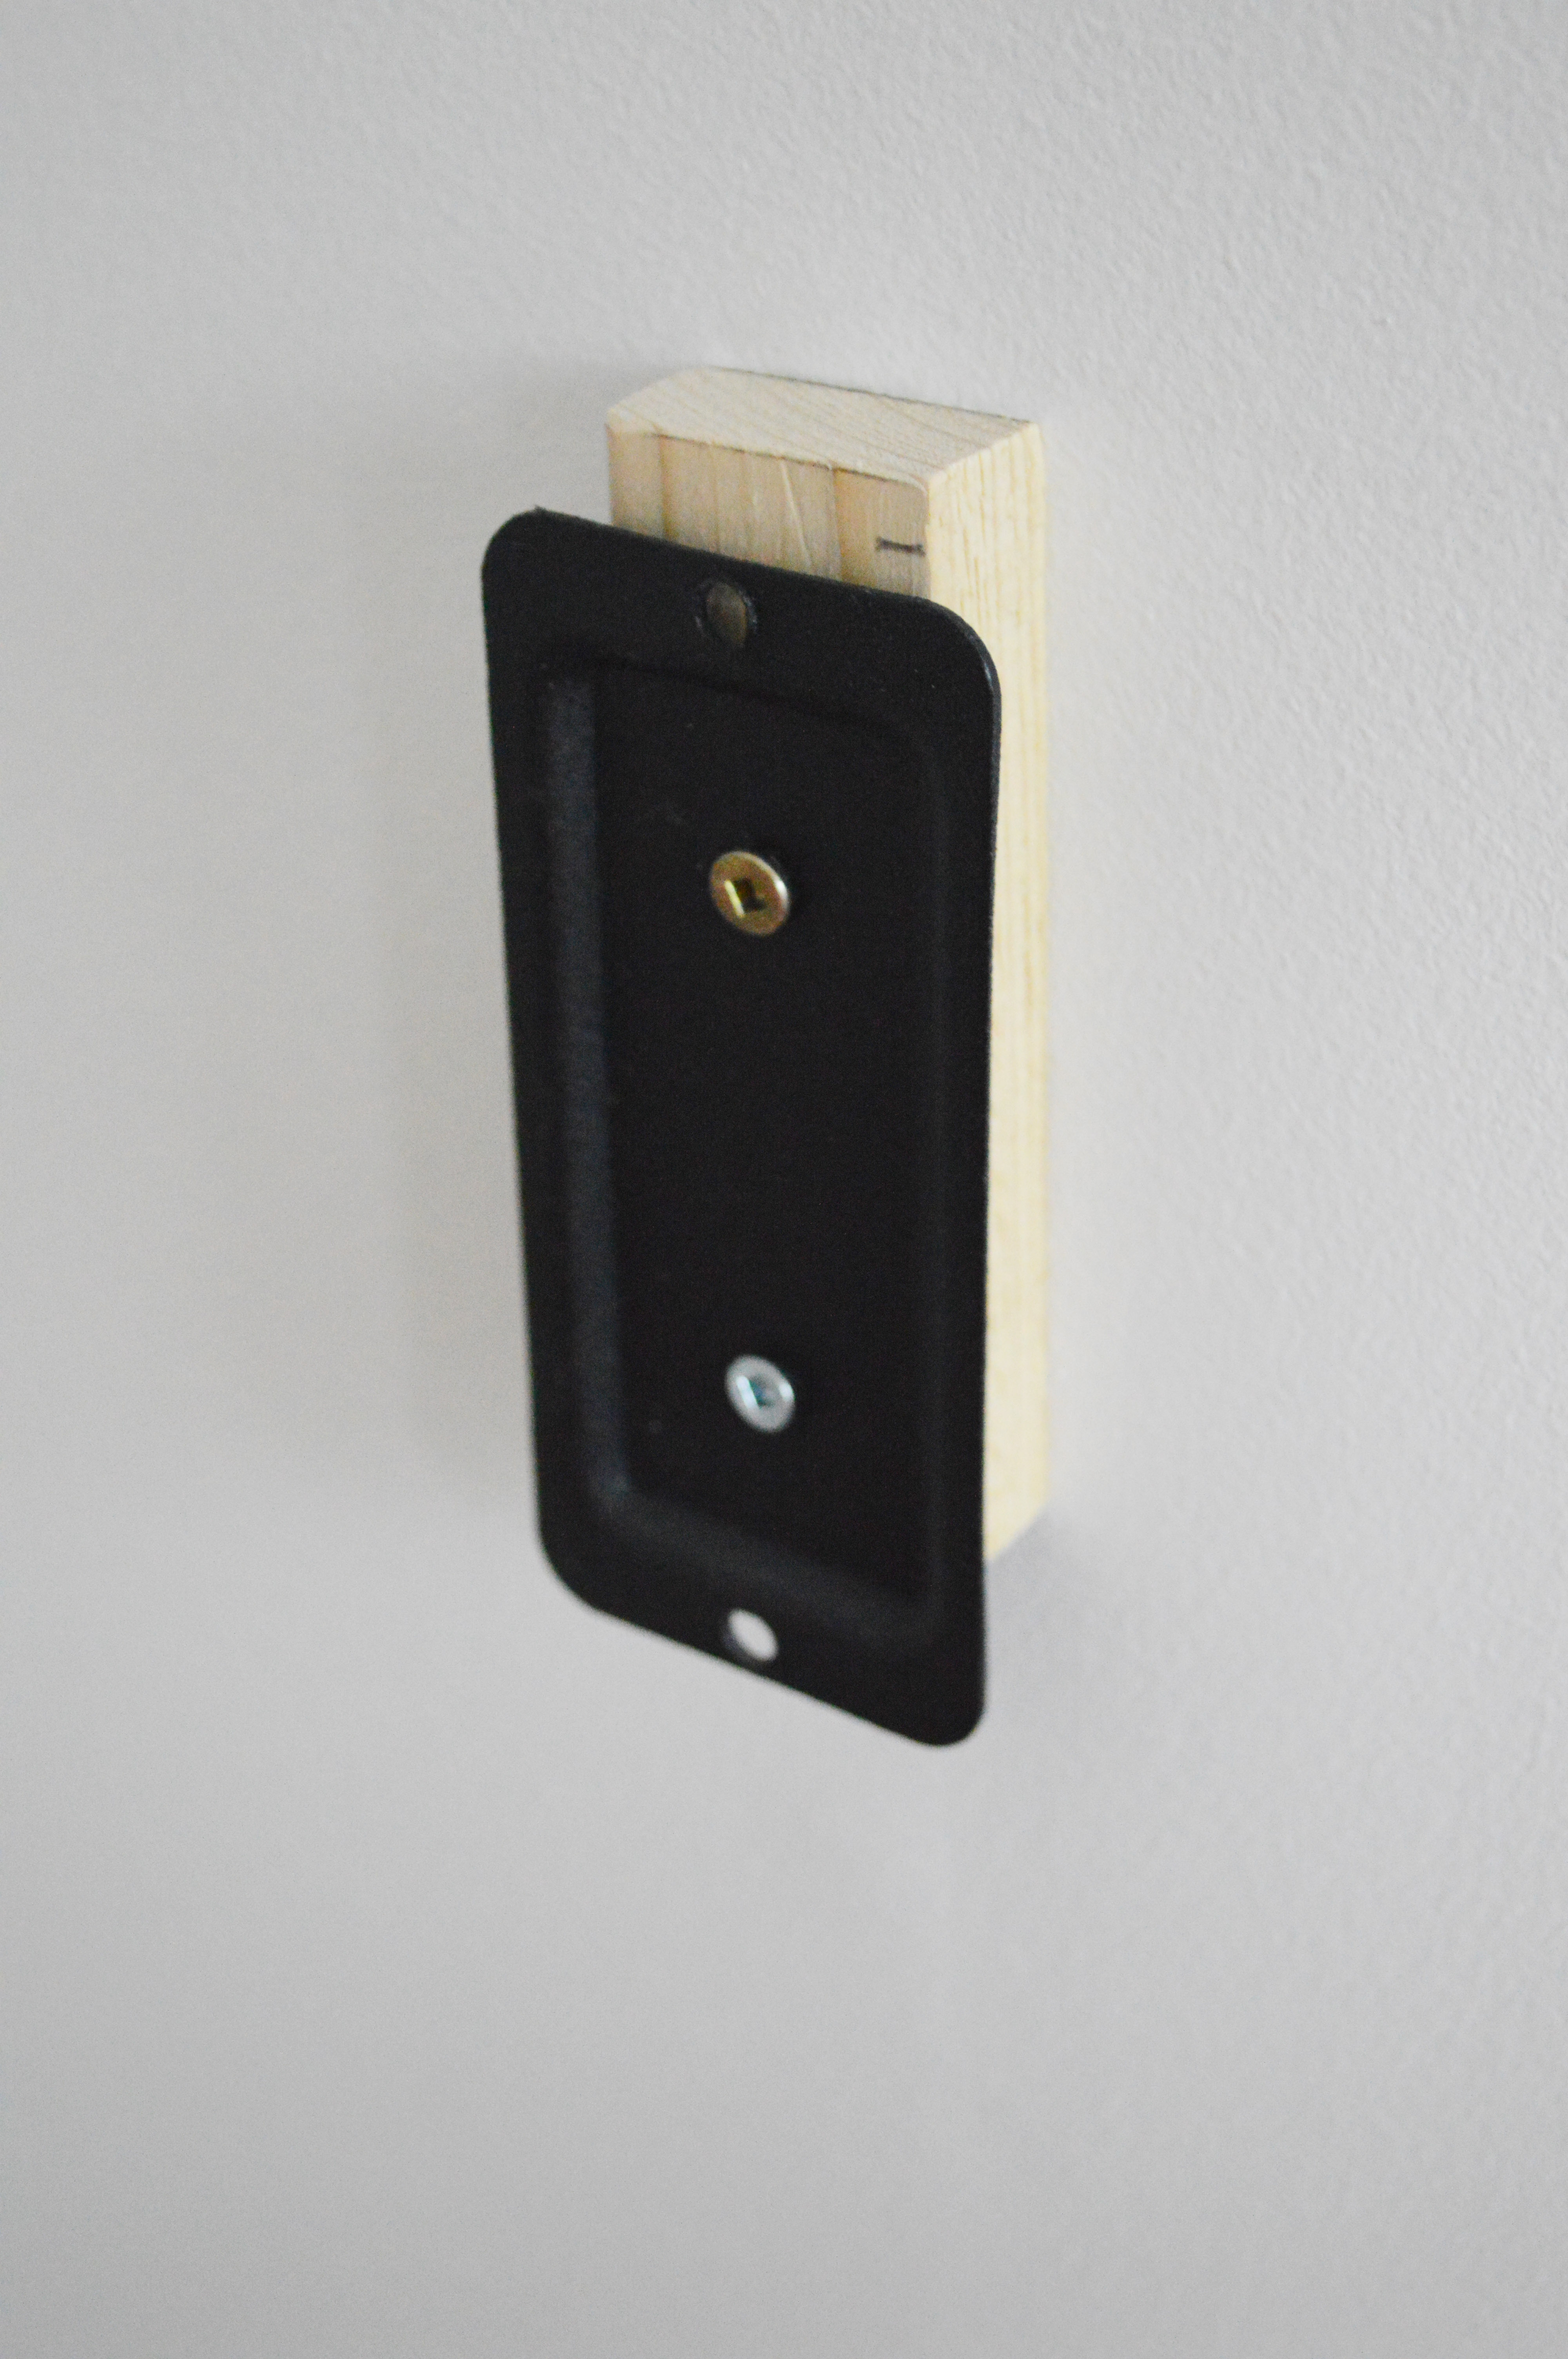
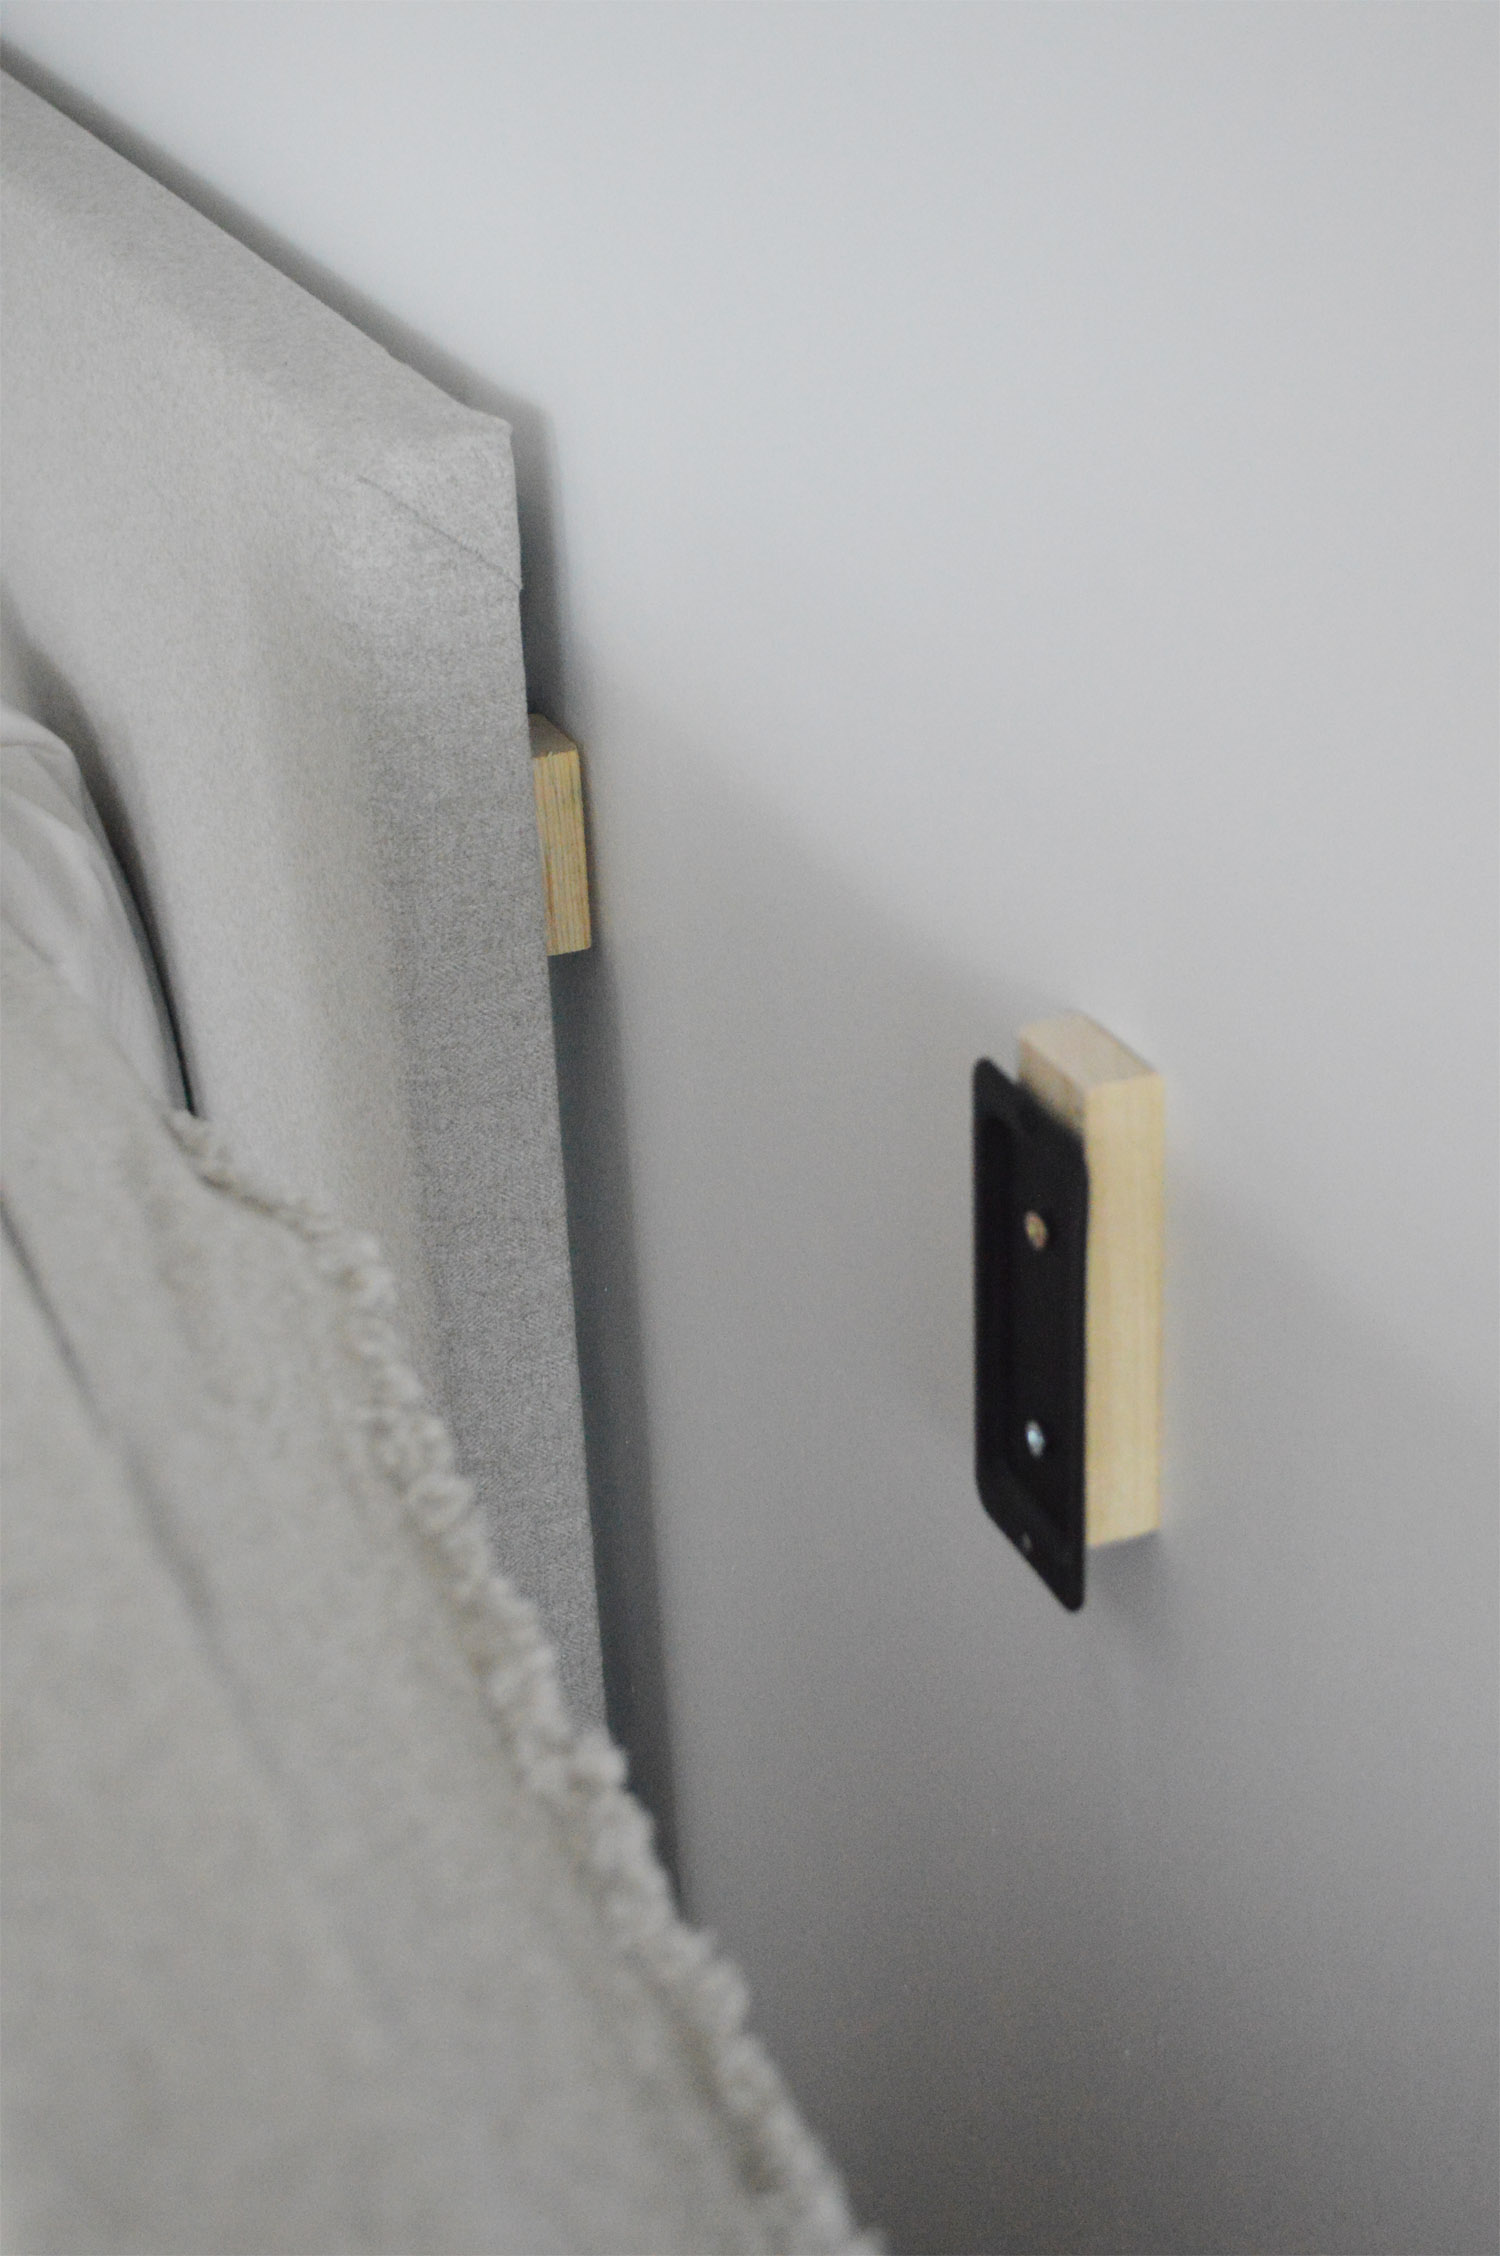
Mount the mirror hangers (or cheaper: wood connector plates) on the wall and the back of your headboards an hang in the headboard. Enjoy your work an go to bed 😀
.
 .
.
 .
.

.
 .
.
 .
.
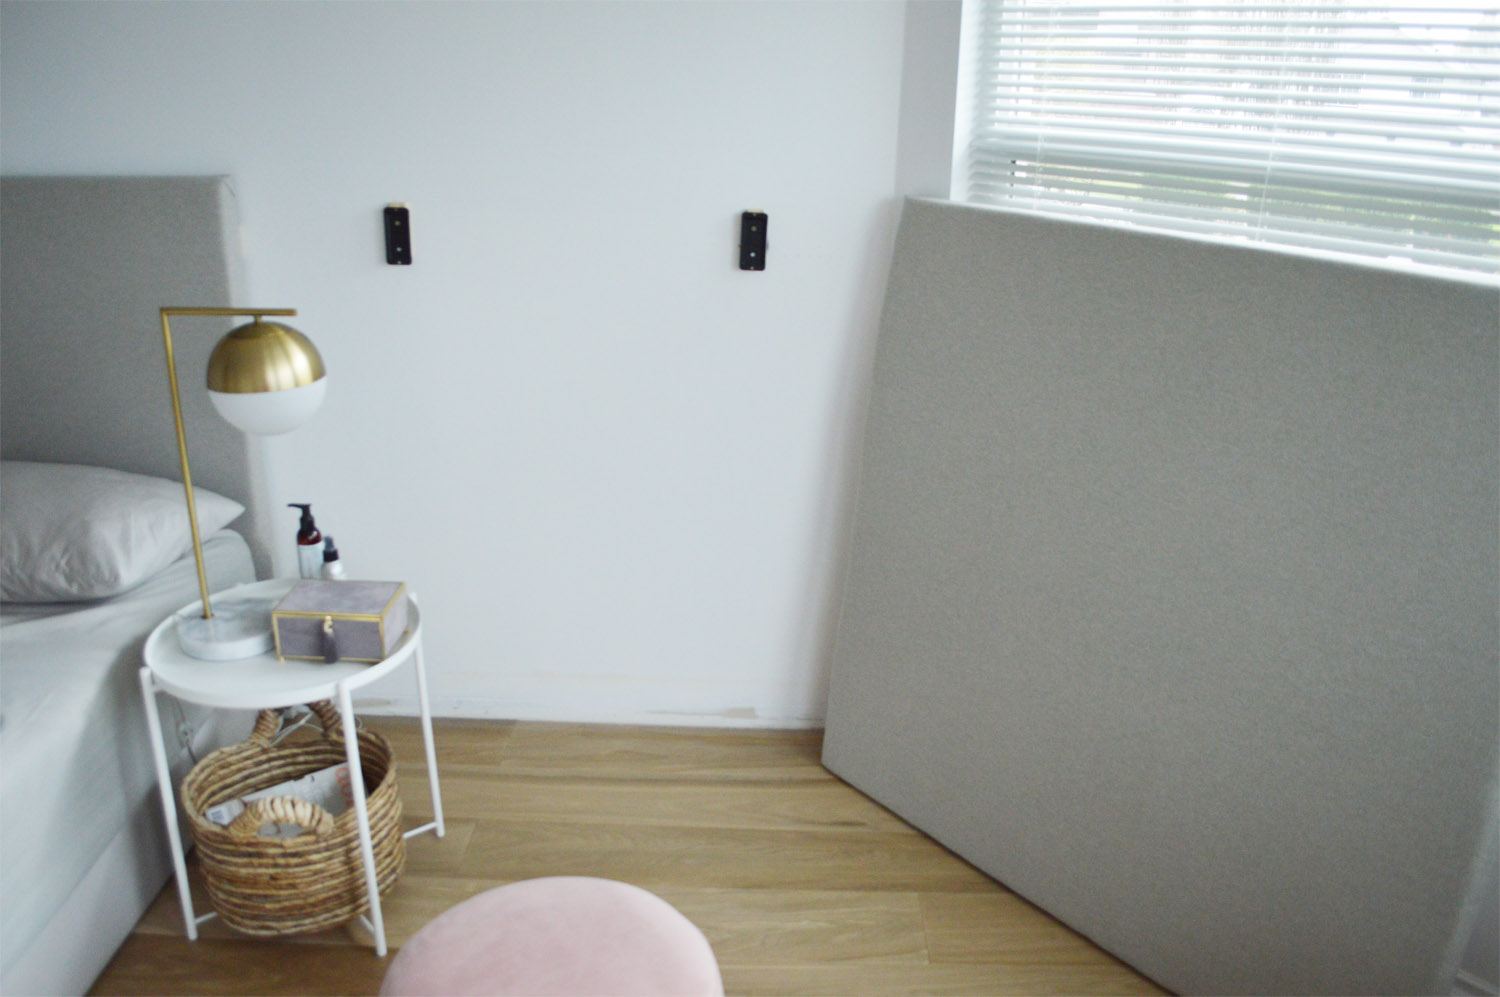
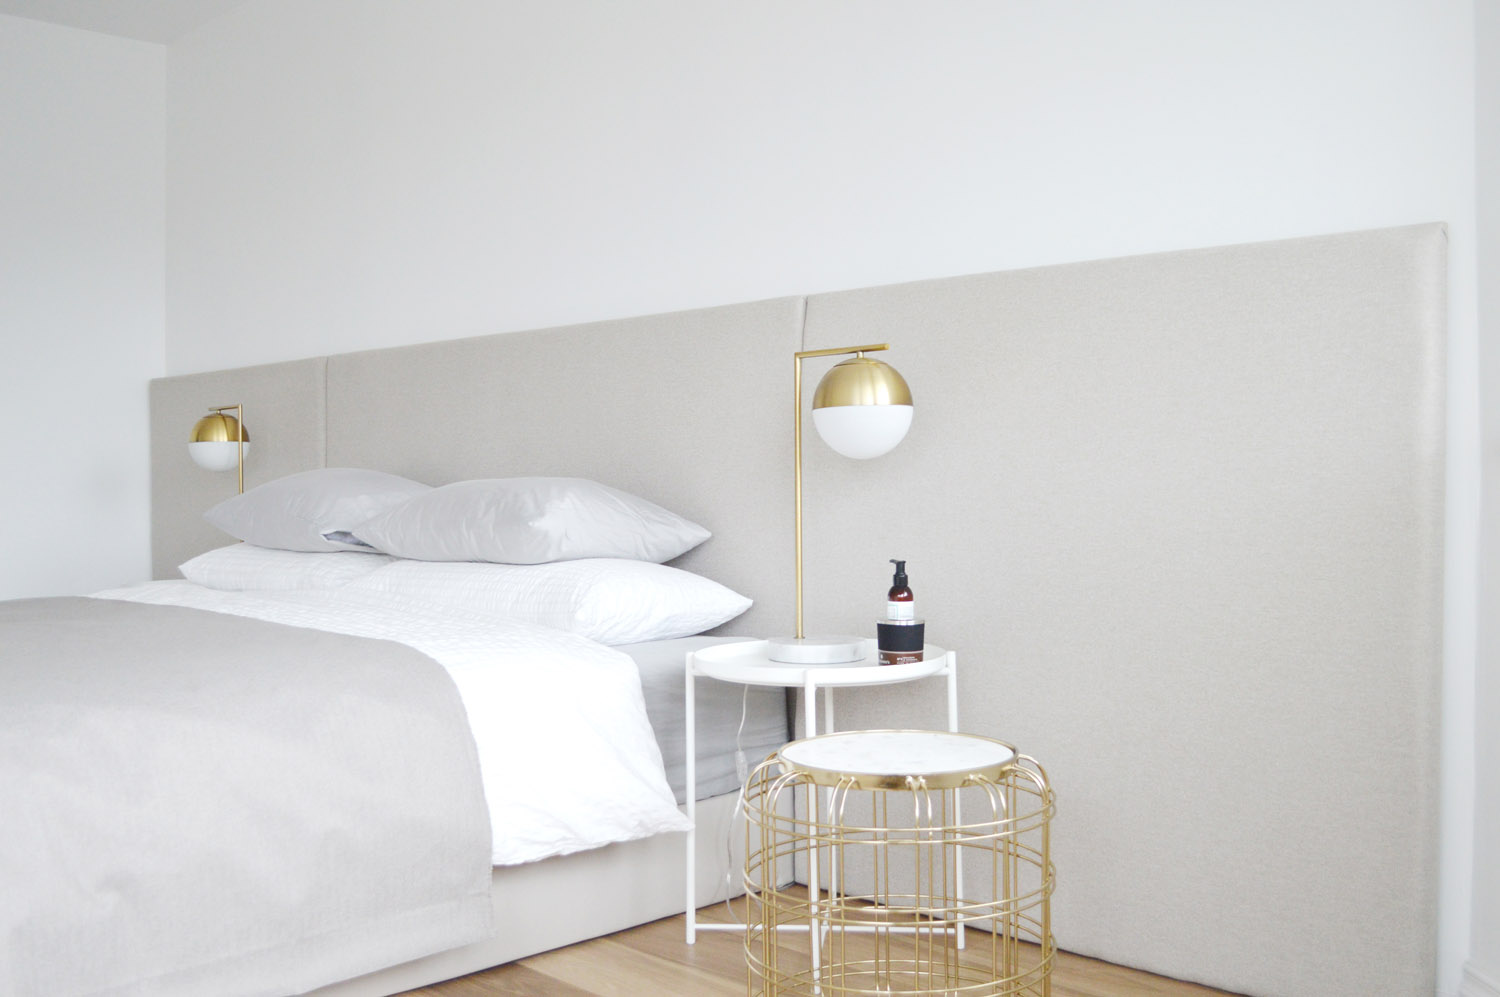
And this is how our bedroom looked like right after we finished the room:
.
.
.
.
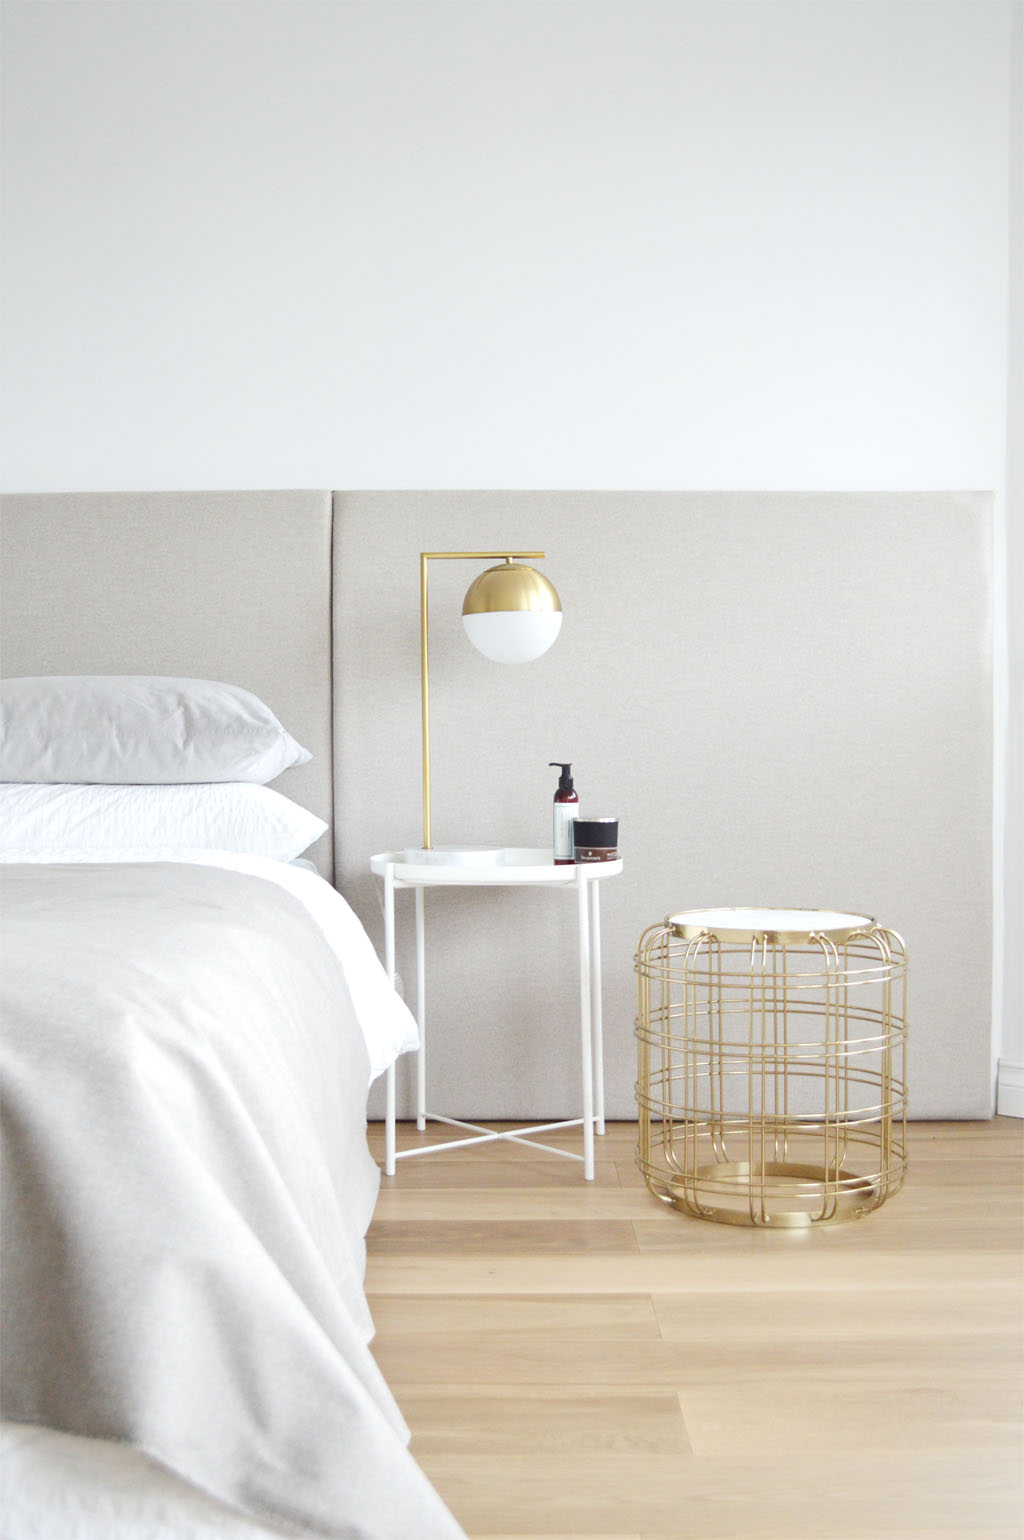
In the meanwhile I re-decorated the room a few times.
I hope you like my headboard tutorial?
Follow me on Instagram to see what else is going on in our house.
My tutorials are the methods, steps and personal experiences that have worked for me. Proceed with tutorials at your own risk and always test before implementing. Please be responsible by wearing proper safety equipment and techniques when using or operating any products or seeking professional assistance when required and needed. Not every one will have the same results.