Feature Wall: DIY Wallpaper With Removable Black Tape
 …
…
…
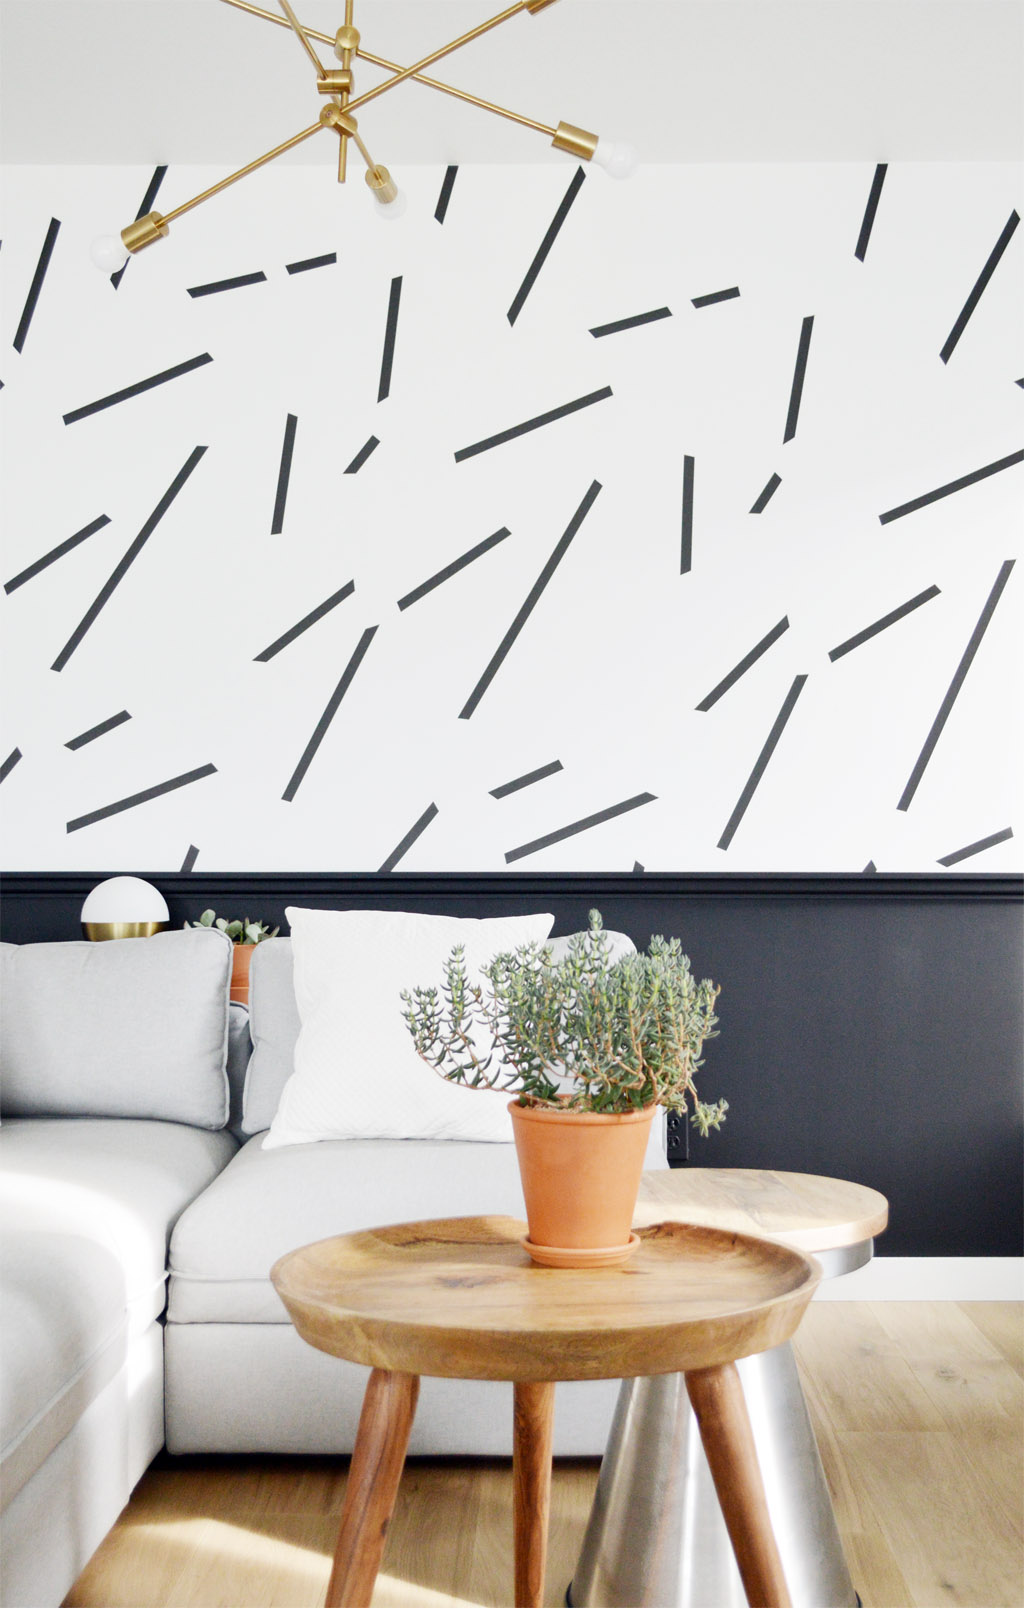
I’ve installed a DIY „wallpaper“ in our living room. I love white walls but this room definitely needed a feature wall.
The best thing about this DIY is that it is super easy to make, removable (perfect if you live in a rental apartment) and it only cost me 5 bucks. My inspiration was a super cool designer wallpaper that had this pattern. Unfortunately, it was so expensive that I decided to make my very first DIY „wallpaper“. Read more to see the instruction.
Du liebst weisse Wände, aber findest es hier und da doch etwas zu kahl? Du magst Streifen und Muster, traust Dich aber nicht an gewagte Tapeten? Wie wäre es mit einer selbstgemachten Wandgestaltung aus Masking Tape?!
Das Tolle ist: Hast Du Dich daran satt gesehen, ziehst Du das Tape einfach wieder rückstandslos von der Wand. Das ist besonders praktisch, wenn Du in einer Mietwohnung wohnst.
Heute zeige ich Dir wie schnell und einfach Du diesen Look im immer angesaten schwarz-weiss Trend selber machst.
Ich muss zugeben, dass ich mich bisher nur einmal in meinem eigenen Zuhause an Tapete gewagt habe und nun total begeistert von Tapeten bin. Inspiration für die schwarz-weissen Streifen war eine tolle Designertapete, die mir leider einfach zu teuer war. Ausserdem war ich nicht sicher, ob mir die Streifen in einem Jahr noch gefallen. Also habe ich mir meine „Tapete“ einfach getaped.
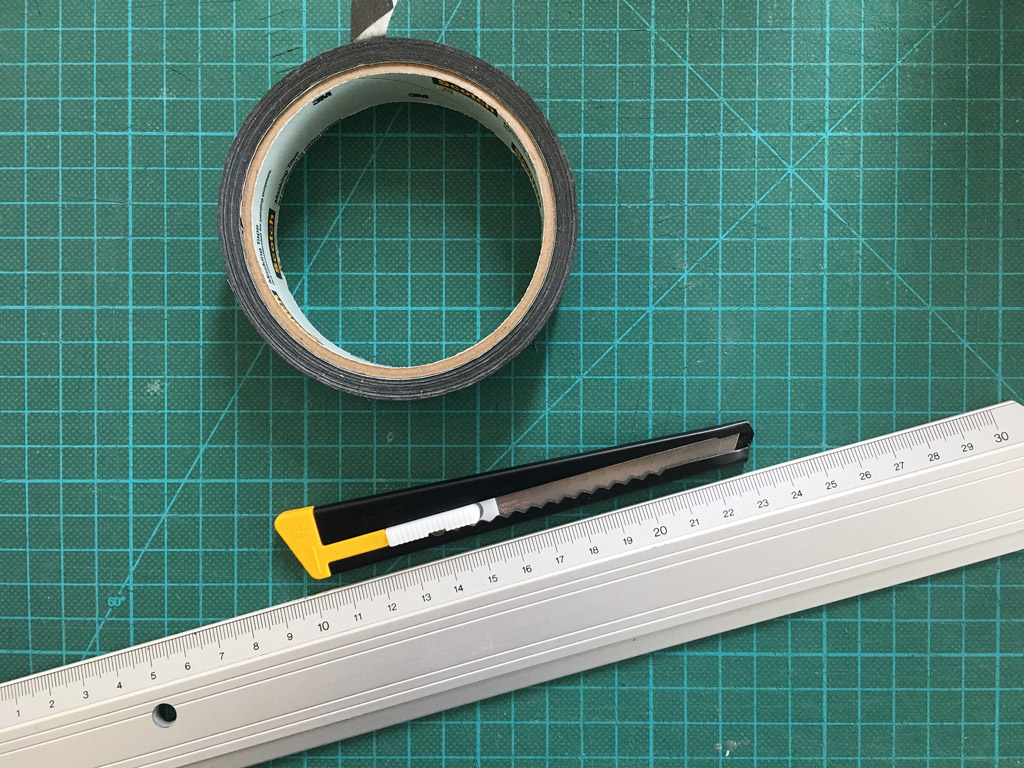
THIS IS ALL YOU NEED:
+ Matte black masking or washi tape
+ Cutter
+ Ruler
+ Cutting mat
Tip: Test a small piece of the tape on your wall first to make sure you can remove it without damaging the wall.
.
DAS IST ALLES, WAS DU BRAUCHST:
+ Schwarzes masking tape
+ein Cutter
+ Schneidelineal
+ Schneidematte
Tipp: Teste einen kleinen Streifen des Tapes an einer unauffälligen Stelle an der Wand. So kannst Du sehen, ob es wirklich rückstandslos wieder zu entfernen ist.
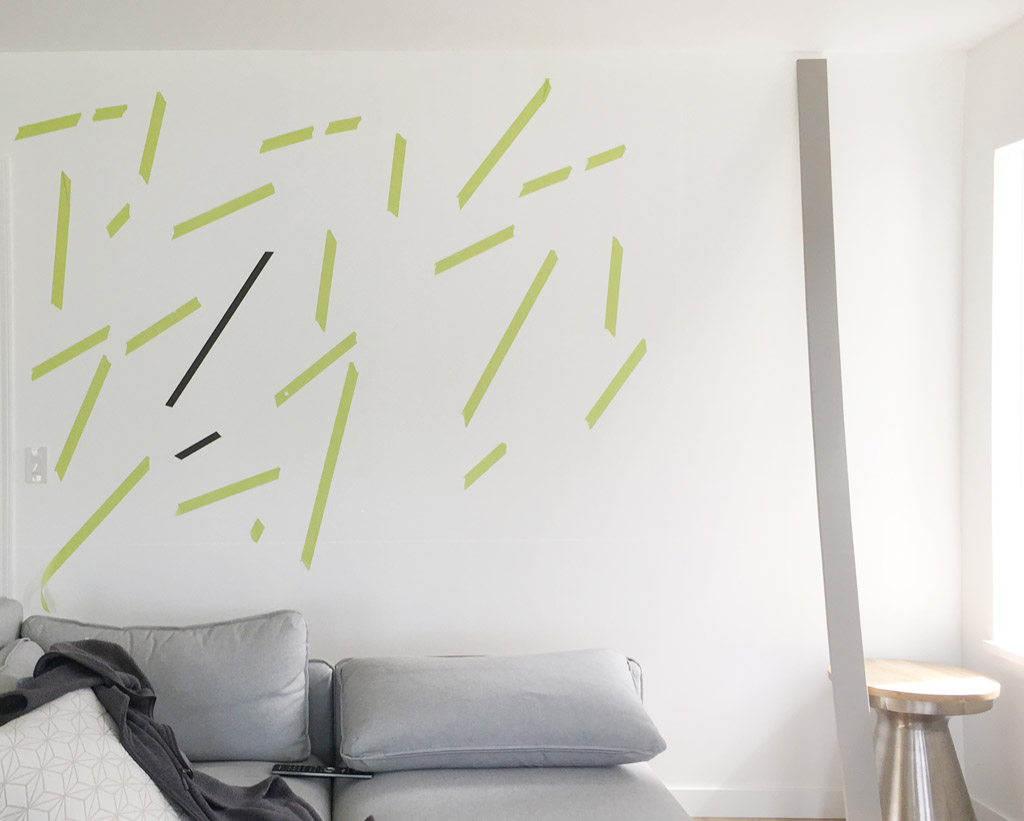
I wasn’t sure about the pattern and the lenght of the stripes. So I tested my idea with a cheap painter’s tape and once I’ve figured it out I replaced the painter’s tape with the black tape. You can skip that if you know exactly how you want it to look like.
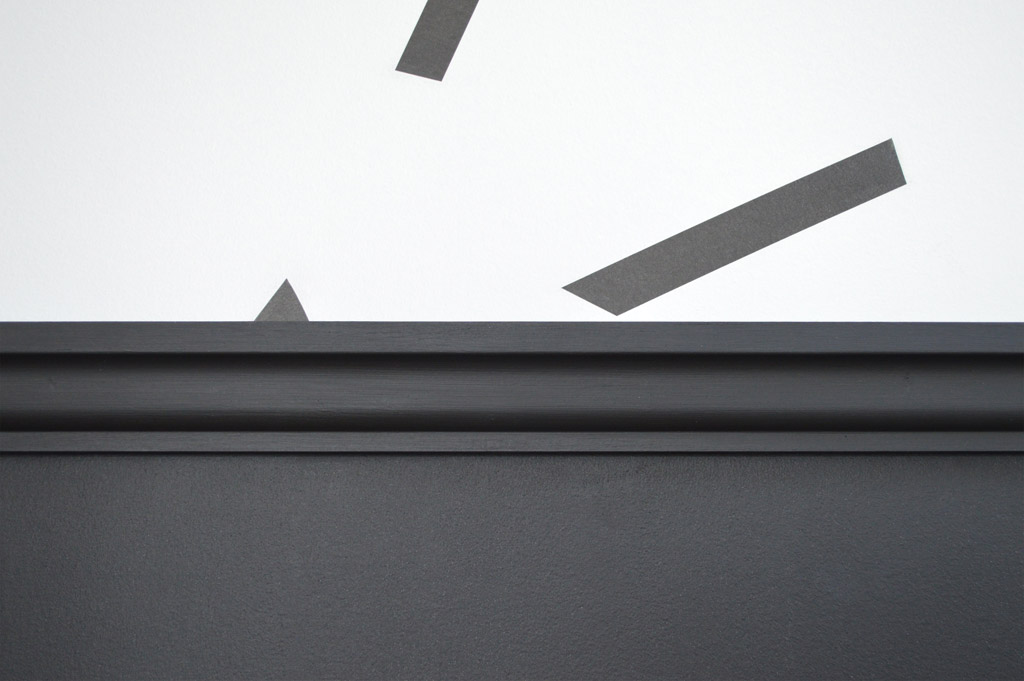
Good to know: Don’t just tear the tape. Cut the ends in different angles with a sharp cutter on your cutting mat.
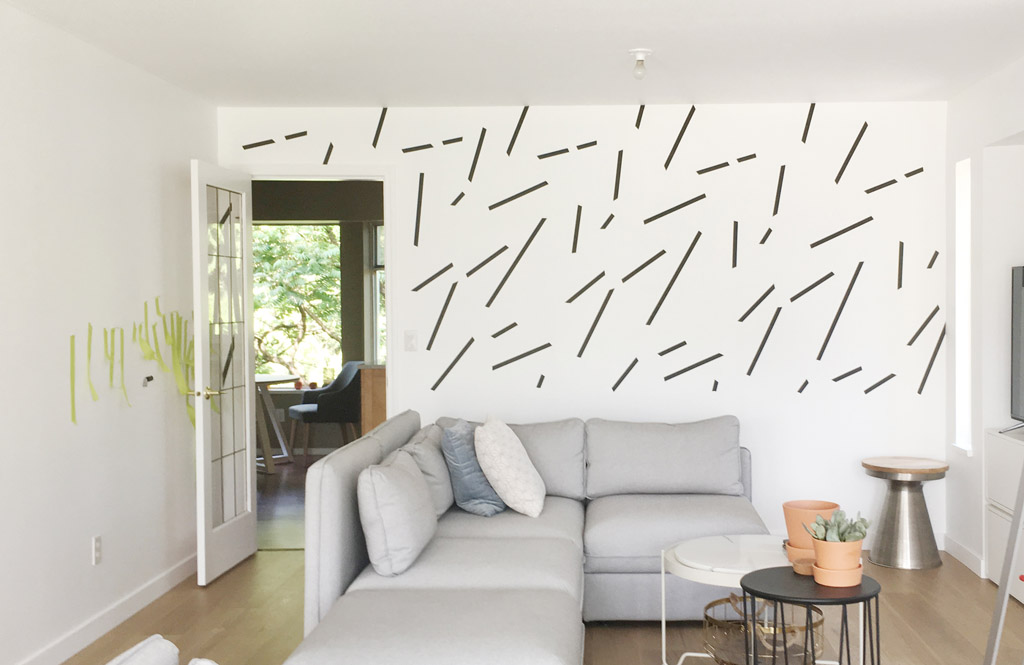
TIP: It looks more like a wallpaper than a cheap DIY if you repeat the pattern!
.
Beginne damit Dein Muster mit Kreppband vorzukleben. Das ist nicht nur preisgünstiger als Masking Tape, sondern kann mehrmals wieder abgezogen und neu aufgeklebt werden – rückstandslos natürlich. So kannst Du viele Varianten erstmal testen und kriegst ein Gefühl dafür, welches Muster Dir gefällt.
Wichtig: Reiße das Tape nicht einfach vom Band, sondern schneide die Enden mit einem scharfen Cutter auf der Schneidematter zu und klebe den Streifen dann an die Wand.
Tipp: Es sieht mehr nach Tapete und hochwertiger aus, wenn sich das Muster wiederholt. Dabei muss das Muster auch gar nicht immer auf einer Höhe identisch sein. Denn Muster auf Tapetenbahnen verlaufen ja auch oft höhenverstezt.
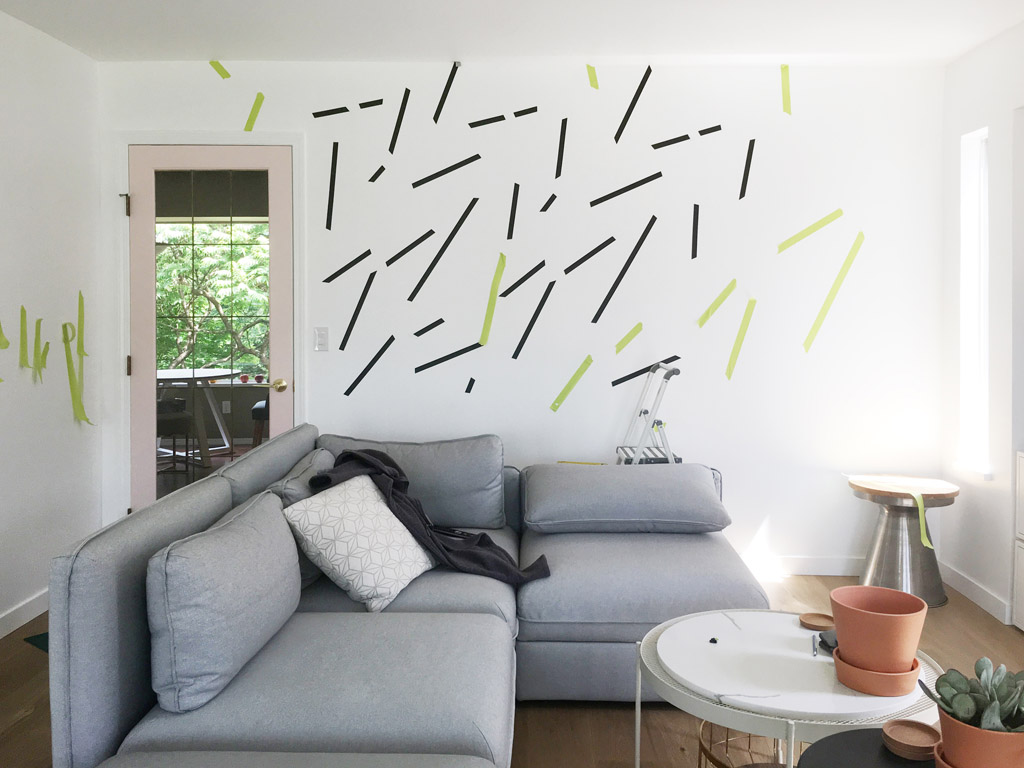
Don’t mind the mess and the unfinished kitchen in the background lol.
I didn’t tape the bottom part of the wall as I wanted to paint it black.
FYI, It took me about 2 hours to tape the wall.
.
Den unteren Bereich habe ich ausgespart, da ich es noch schwarz streichen wollte.
Ich habe ungefähr zwei Stunden gebraucht, um die Wand zu tapen.
Ready to paint the wall!
.
Wenn Du auch nicht genug von der Schwarz-Weiß Kombi kriegen kannst, dann streiche doch noch die Wand schwarz!
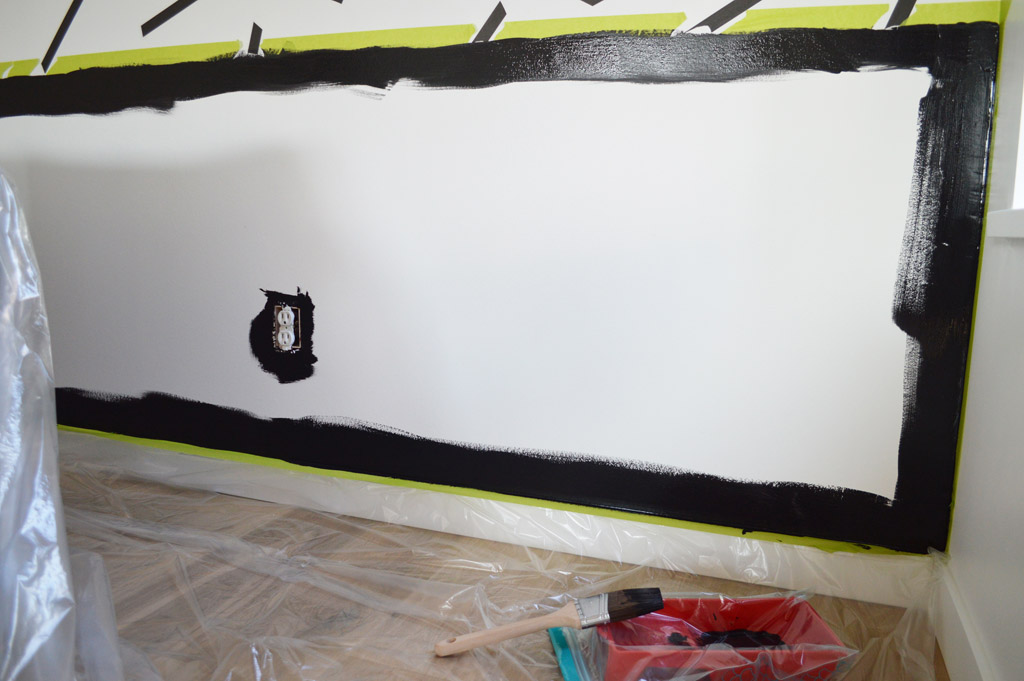
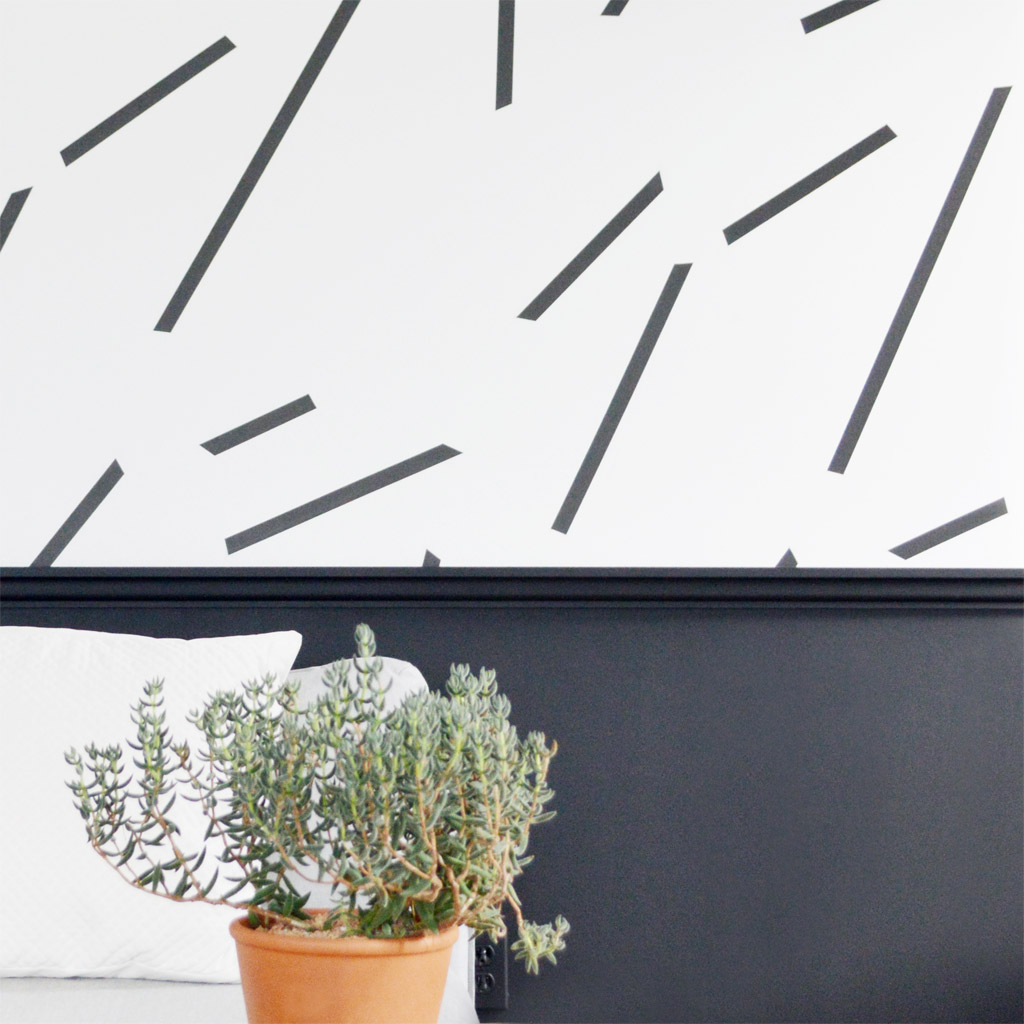
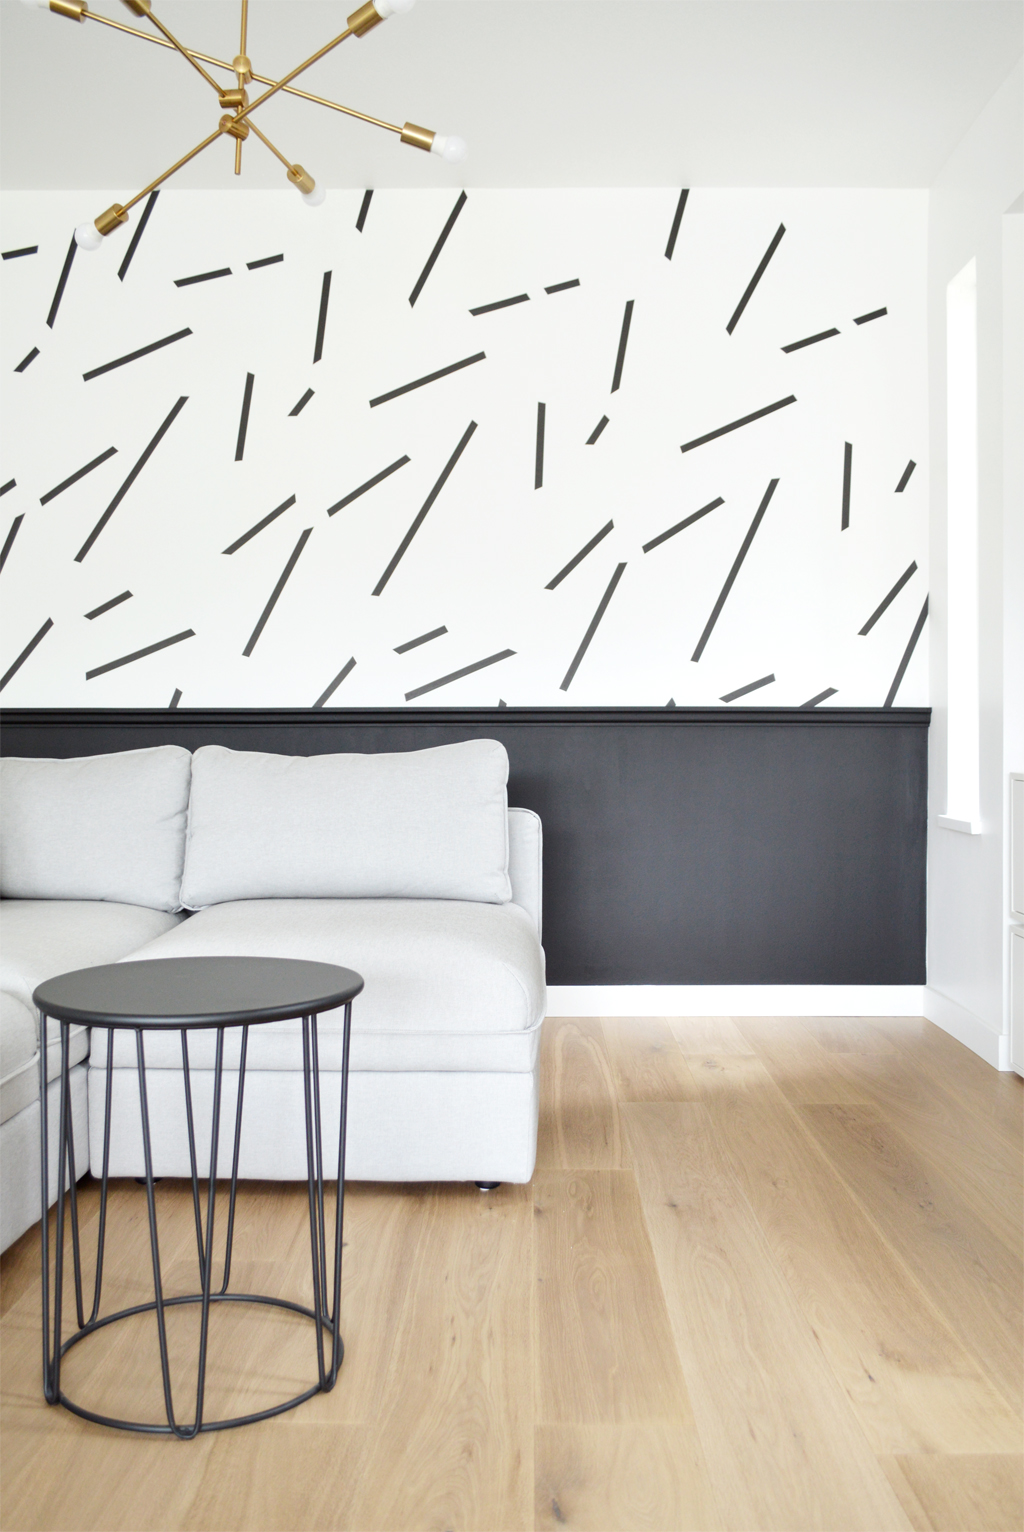
I’ve choosen the same matte black for the wall and the chair rail.
.
Für die Wand und die Leiste habe ich, passend zum Tape, ein mattes Schwarz ausgewählt.

…
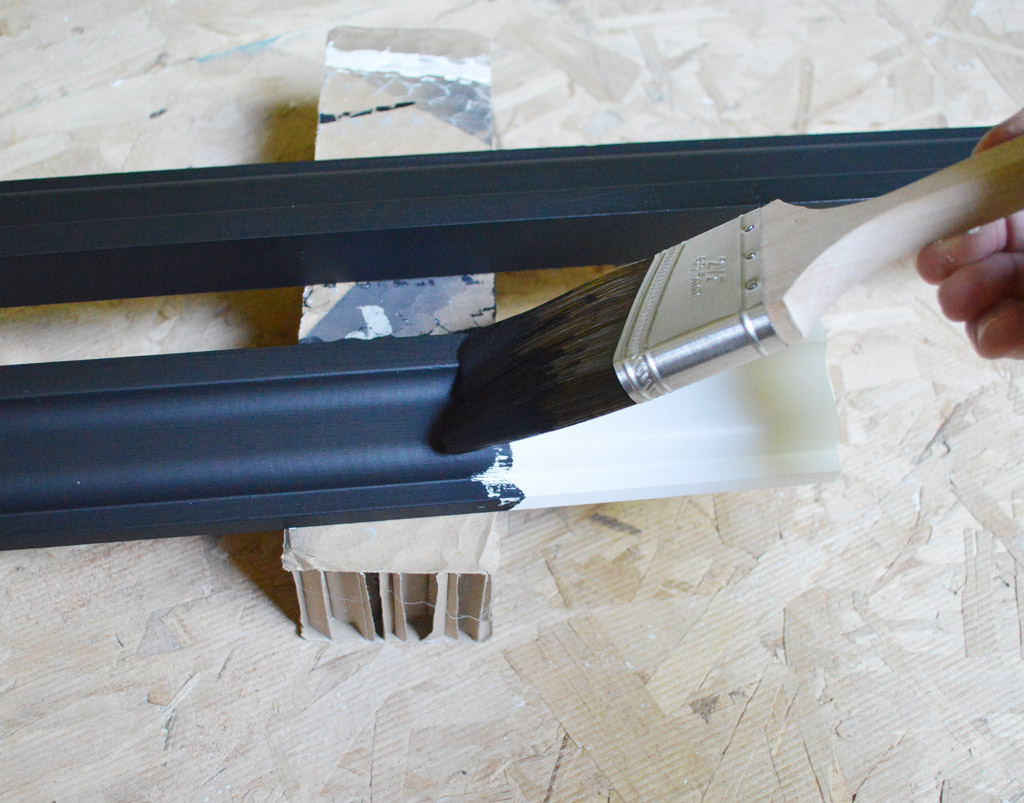
The chair rail was already primed. So it just needed a coat of the black paint. Once it is dry you can nail or glue it to the wall.
.
Für einen sauberen Abschluss des gestrichenen Wandabschnitts habe ich eine Holzleiste lackiert und an die Wand angebracht. Am einfachsten geht das mit einem Baukleber.
…
The minimalist look:
…
.
I’m already planning my next DIY „wallpaper“ project: Our laundry walls will get a makeover.
See my guest room DIY transformation where I used my very first wallpaper ever (not a DIY wallpaper).
.
Ich bin schon fleissig dabei, meine nächste DIY Tapete zu planen und freue mich schon darauf Euch das Resultat bald zu zeigen!